
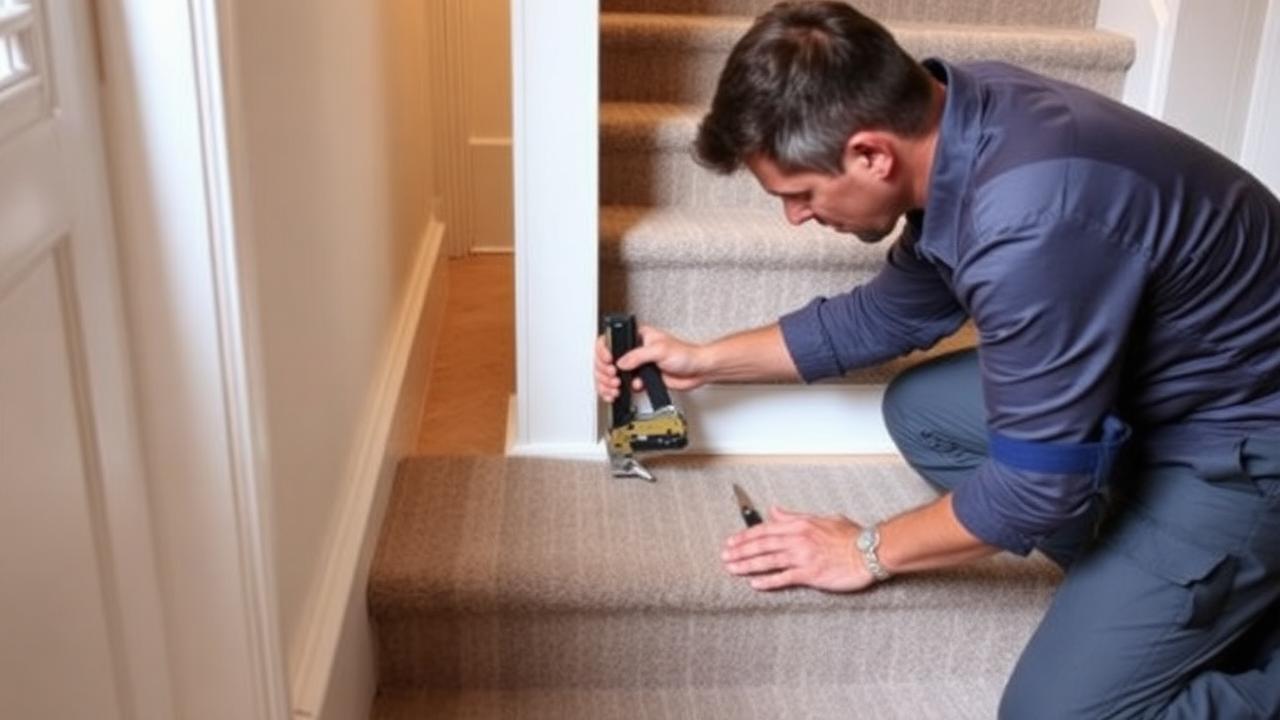
The peril of incorrect measuring
Measuring is the most critical stage, and it's where most DIY projects fail before they even start. Many people simply measure one tread and one riser and multiply by the number of steps. This is a huge mistake. Stairs, especially in older homes, are rarely identical. A 5mm difference here and there adds up over a 13-step flight. If you don't measure every single step, you risk running out of material or having a runner that doesn't align correctly with the nosings. Always use a professional stair runner calculator to account for the 'wrap' around each nosing and the 'tuck' into the gripper rods. I always recommend adding a 10% waste margin to your total, which gives you room to correct minor errors or handle unexpected challenges like winders.
Another common measuring error is forgetting to account for the landing transitions. If you're continuing the runner onto a landing, you need to factor in the extra length required to make a clean turn or a mitre cut. I’ve seen many jobs where the fitter had to splice in a small, ugly piece of carpet at the top because they were just 10 cm short. It completely ruins the look of the flight and is easily avoidable with a bit of foresight and the right tools.
Inadequate tensioning and the 'sagging' runner
A runner that isn't tight is a runner that is failing. I see this all the time: a runner looks great for the first week, but then it starts to bag and sag on the risers. This is almost always due to poor tensioning during installation. You cannot get the required tension by hand; you must use a knee kicker. Each step must be kicked onto the gripper pins with significant force to ensure there is no slack. If you can pinch the carpet on the riser, it's not tight enough. This isn't just an aesthetic issue; a loose runner is a trip hazard, as the material can shift underfoot.
Proper stapling is the other half of the tensioning equation. Staples should be driven deep into the join between the tread and the riser, securing the runner while it is under maximum tension from the kicker. If the staples are too short or the gun isn't powerful enough, they will eventually pull out. I use 16mm staples and place them every 50mm (2 inches) across the width of the runner to ensure an even and secure hold. The goal is to make the runner feel like a permanent part of the staircase, not a loose piece of fabric draped over it.
Safety First
A loose stair runner is one of the most common causes of falls in the home. If you notice any movement or sagging, it needs to be re-tensioned immediately. Don’t wait for an accident to happen.
How much runner do I need?
Let's look at a 13-step flight in US units. Each step has a 10 in tread and a 7.5 in riser. Adding a 1 in nosing wrap gives 18.5 in per step. For 13 steps, that is 240.5 in (20.04 ft). Factor in a 12 in finishing allowance and a 10% margin for error (essential for beginners), and you should order 23.4 ft. This extra material is your insurance against the fitting mistakes we are discussing.

In UK metric units, a 13-step flight with a 25 cm tread and 19 cm riser, plus a 2.5 cm nosing wrap, requires 46.5 cm per step. The total for 13 steps is 604.5 cm. Adding a 60 cm finishing allowance and a 10% waste margin brings the total to 7.31 metres. Always verify your specific stair dimensions with a stair runner calculator to be certain.
| Mistake | Consequence | Professional Fix |
|---|---|---|
| Incorrect Measuring | Running short or poor alignment | Measure every step; use a calculator |
| Poor Tensioning | Sagging and trip hazards | Use a knee kicker on every step |
| Wrong Staples | Staples pulling out | Use 14-16mm staples and a power gun |
| Bad Rod Spacing | Bulky tucks or loose carpet | Maintain 12-15mm gap from riser |
Know your numbers in 30 seconds
Enter your step count, tread depth and riser height — the stair runner calculator gives you the exact length to order, in metres and feet, with waste included.
Open the stair runner calculatorAlignment and 'the drift'
Maintaining a perfectly straight line is one of the hardest parts of fitting a stair runner. If the runner is even 2mm off at the bottom, by the time you've done 13 steps, it could be 26mm out of alignment. This 'drift' is incredibly obvious once the job is finished. The mistake people make is not checking their alignment on every single step. I use a laser level or a chalk line to mark the centre of each step and the edges of where the runner should sit. After each step is kicked and stapled, I re-measure from the edge of the stair to the edge of the runner to ensure I haven't moved.
Winders are particularly prone to alignment issues. Because the runner has to turn, it's very easy for it to bunch up on one side or pull tight on the other. A professional fitter will often 'fan' the runner out on the winder, carefully managing the excess material at the narrow end and the tension at the wide end. This takes patience and a lot of small adjustments with the knee kicker. If you try to rush it, you'll end up with a runner that looks twisted and wonky.
- Measure every tread and riser individually.
- Use a knee kicker to ensure maximum tension.
- Check alignment with a laser or chalk line on every step.
- Avoid cheap, weak staples; use 14mm-16mm lengths.
- Don’t skimp on underlay; use a high-density version.
Neglecting the underlay and preparation
Another common mistake is trying to save money by using a low-quality underlay or skipping it altogether. Underlay is what protects the runner from the hard edges of the stairs. Without it, the carpet fibres are crushed between your feet and the wood, leading to bald patches on the nosings within a year or two. A high-density underlay provides the necessary cushioning and significantly extends the life of your stair runner carpet. I also see people fitting runners over old staples or grit. This is a recipe for disaster. Any lump underneath the carpet will eventually show through and wear a hole in the material.
Finally, don't forget the finishing. A common amateur mistake is leaving raw edges or loose threads at the top and bottom. Always fold the runner under itself at the start and finish to create a clean, 'hemmed' edge. Use a row of staples buried in the pile to hold this fold secure. It's these small details that separate a professional job from an amateur one. If you take your time, use the right tools, and follow these professional tips, you can avoid the common pitfalls and achieve a beautiful, safe, and long-lasting result on your stair runner installation.
Whatever you decide, get the numbers first: the stair runner calculator doubles as a stair runner length calculator, adding nosing wrap, landings, winders, pattern repeat and waste so you order the right length the first time.
Frequently asked questions
What is the most common mistake when fitting a stair runner?
The most common mistake is incorrect measuring. Many people fail to measure each step individually and forget to account for the material needed to wrap around the nosings and tuck into the joins, leading to them running short.
Why is my stair runner sagging?
Sagging is almost always caused by inadequate tensioning during installation. If you don't use a knee kicker to stretch the carpet onto the gripper rods, it will eventually loosen and bag on the risers.
Can I fit a runner without a knee kicker?
It is not recommended. You cannot achieve the necessary tension by hand, and a loose runner is a significant trip hazard. A knee kicker is essential for a professional and safe finish.
Are staples really necessary?
Yes, staples provide the secondary level of security, holding the runner in the join where it meets the riser. This ensures the tension provided by the gripper rods is maintained across the entire step.
What should I do if the runner starts to drift sideways?
You must catch this early. Check your alignment on every step using a tape measure or a laser level. If it starts to drift, you may need to pull it back and re-kick it into the correct position.
Why does the type of underlay matter?
Stairs are high-impact areas. A high-density underlay is required to protect the carpet fibres from being crushed against the hard edges of the stairs, extending the life of the runner.
How do I avoid fraying at the edges?
Ensure you use a very sharp knife for all cuts. For some types of synthetic runners, a heat-sealer can be used to melt the edges and prevent fraying.
Is a 10% waste margin really necessary?
Yes, especially for DIYers. It provides a buffer for measuring errors, alignment corrections, and the extra material needed for complex areas like winders or landings.
Know your numbers in 30 seconds
Enter your step count, tread depth and riser height — the stair runner calculator gives you the exact length to order, in metres and feet, with waste included.
Use our stair runner length calculator to avoid measuring errorsReady for real prices?
Get quotes from vetted stair runner suppliers and fitters near you. Free, no account, no obligation.
Every guide is written from hands-on measuring and fitting experience, checked against the calculator’s own maths, and re-reviewed whenever prices or methods change. Read our editorial standards.