

The five ways to hold a runner, ranked
| Method | Holding power | Reversible? | Best for |
|---|---|---|---|
| Staples into the crease | Excellent | Yes, with effort | Permanent installs on timber stairs |
| Gripper (tack strip) + staples | Excellent | Yes | Heavy-traffic family stairs |
| Stair rods (decorative) | Low on their own | Yes | Detail over a stapled runner |
| Runner clips / brackets | Good | Yes | Rental homes, no-staple installs |
| Double-sided tape / grip pads | Fair, degrades | Yes | Temporary or rental fixes |
Rods are jewellery, not fixings
Almost every rod-fitted runner is also stapled or gripped. Rods hold the runner into the crease and look superb, but a runner supported only by rods will slide within weeks of real use.
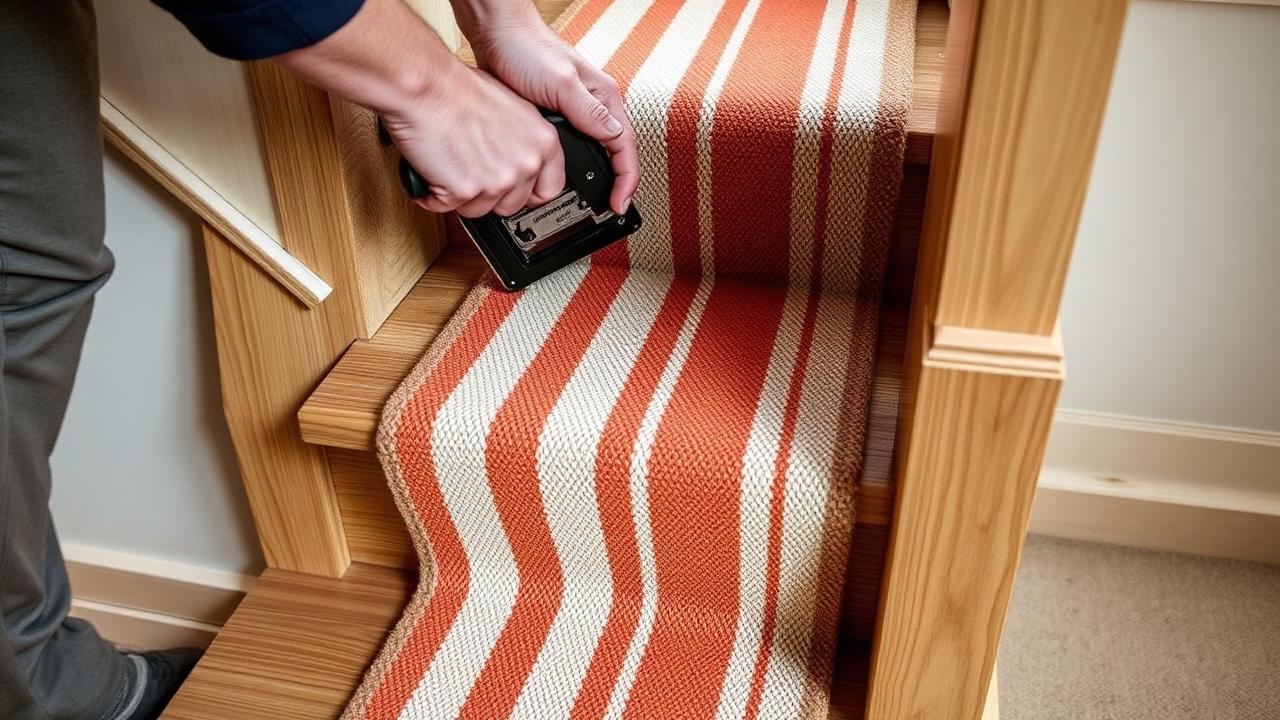
Stapling: where the staples actually go
The crease where tread meets riser is the only place a staple should be visible-adjacent. Fired at a slight angle into that internal corner, the pile closes over the crown and the fixing disappears.
- Set the runner square, then staple the top edge under the nosing of the step above.
- Pull the runner down and tension it firmly by hand — or with a knee kicker on wide runners — before firing into the crease.
- Fire 4–6 staples across the crease of each step, plus 2 into each edge fold if the runner is not bound tight.
- Comb the pile over the crown with your fingers; a correctly placed staple should vanish.
Hiding the staples
- Match the staple direction to the pile lay — crowns running with the pile disappear far better than crowns across it.
- Use narrow-crown staples (around 6–10mm crown) rather than wide construction staples.
- Never staple on top of the nosing where the runner curves; that is the one line that shows and the one that wears through first.
- On loop pile, part the loops with a bradawl before firing so the staple sits between loops rather than piercing one.
No-staple options that genuinely work
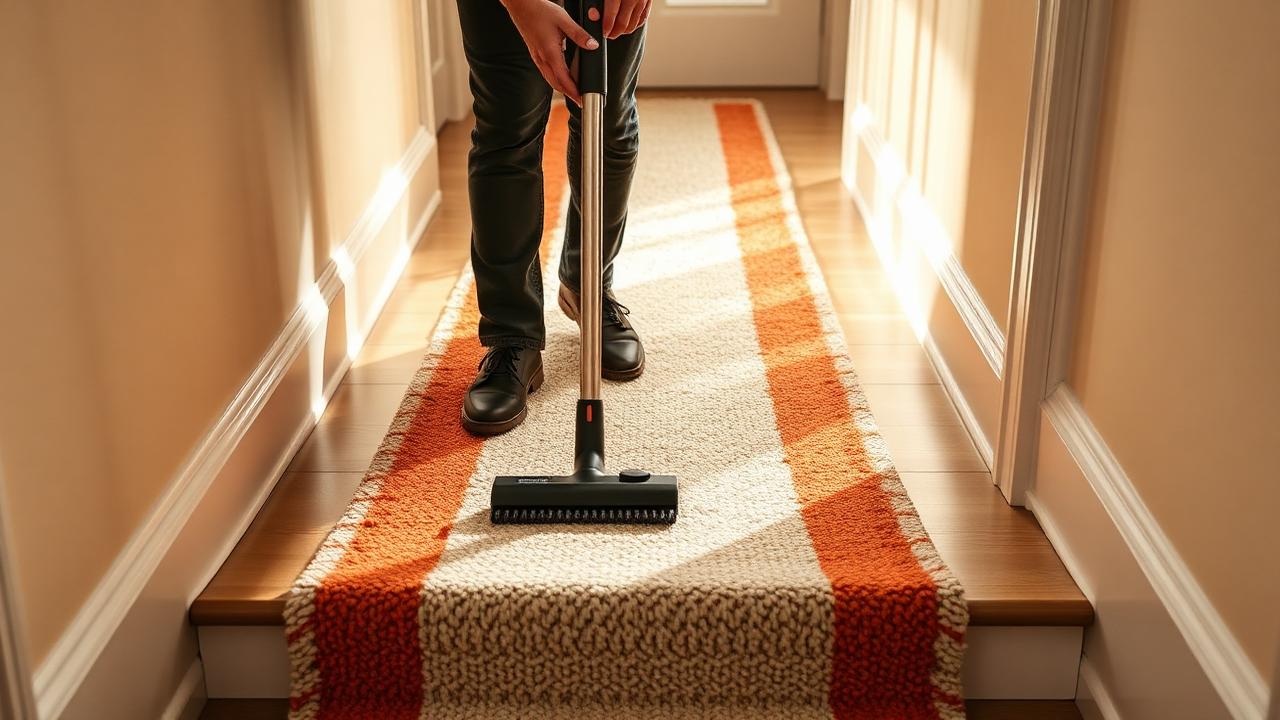
If you cannot make holes — rentals, listed buildings, brand-new hardwood you would rather not perforate — the reliable combination is a high-friction pad under the runner plus mechanical clips at the crease.
- Rubberised non-slip stair pads cut 3–4cm narrower than the runner on every side.
- Runner grip clips or bracket systems that pinch the runner into the crease with a screw into the riser only (a far easier hole to fill later than dozens in the tread).
- Carpet-to-hard-floor double-sided tape as a supplement, replaced yearly — it is a helper, never the primary fixing.
Why runners creep, and how to fix each cause
| Symptom | Cause | Fix |
|---|---|---|
| Ruckle in the middle of the flight | Under-tensioned at fitting | Re-tension from the top down; add staples per crease |
| Lifting off the nosing | Waterfall fit on a deep bullnose | Switch to a wrapped (Hollywood) fit or add nosing fixings |
| Whole runner sliding downhill | Held only by rods or tape | Add crease staples or gripper behind each riser |
| Edges curling | Runner cut and not bound, or pad too wide | Bind the edges; trim the pad narrower than the runner |
| Squeaking underfoot | Loose tread, not the runner | Screw the tread down before refitting |
Know your numbers in 30 seconds
Enter your step count, tread depth and riser height — the stair runner calculator gives you the exact length to order, in metres and feet, with waste included.
Open the stair runner calculatorSafety rules worth following
Building safety guidance is consistent on one point: stair coverings must be securely fixed and free of trip edges. In practice that means no loose runner ends, no lifted nosings, and equal reveals of bare tread either side so the step edge stays visually clear. If your runner fails any of those, fix it before it is a fall.
Whatever you decide, get the numbers first: the stair runner calculator doubles as a stair runner length calculator, adding nosing wrap, landings, winders, pattern repeat and waste so you order the right length the first time.
Frequently asked questions
How do you keep a stair runner from sliding?
Tension it properly and fix it into the crease of every step with staples or gripper. Pads and tape reduce movement but do not hold a runner on their own, and rods are decorative rather than structural.
Can you install a stair runner without staples?
Yes — non-slip pads plus mechanical runner clips or bracket systems that screw into the riser will hold a runner securely and leave the treads untouched. It is the standard approach in rentals.
Do stair rods hold the runner in place?
Only partly. Rods press the runner into the crease and stop it lifting there, but the runner still needs staples, gripper or clips to resist being walked downhill.
How do you hide staples on a stair runner?
Fire narrow-crown staples at an angle into the internal corner where tread meets riser, aligned with the pile direction, then comb the pile over the crown. Staples on the face of a tread or over the nosing will always show.
Is double-sided tape enough for a stair runner?
Not on its own. Tape loses grip as it warms and collects dust, so treat it as a supplement to pads and clips, and plan to renew it annually.
Know your numbers in 30 seconds
Enter your step count, tread depth and riser height — the stair runner calculator gives you the exact length to order, in metres and feet, with waste included.
Work out rods and brackets