
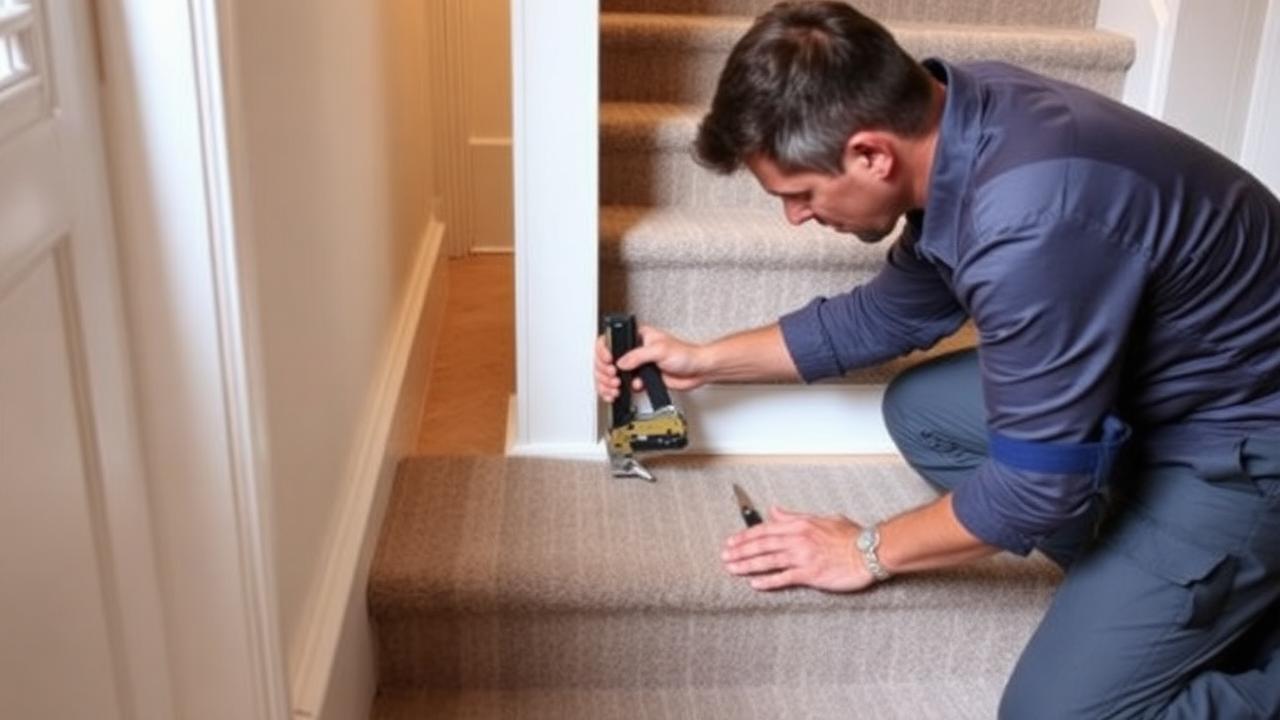
Tools and materials you will need
Before you start, gather a heavy-duty staple gun (or a carpet tacker for pinning down the initial layer), a stair tool or wide chisel for tucking carpet into corners, a sharp carpet knife with spare blades, a tape measure, chalk line, and knee pads. You will also need stair runner underlay or padding cut to size, plus the runner itself. If you plan to use stair rods rather than staples for the visible fixing, order those separately and confirm their width matches your runner.
Step 1: Measure and confirm your length
Run your exact tread depth, riser height, and step count through a stair runner length calculator before you cut anything. It is far cheaper to double-check your numbers on screen than to discover halfway up the stairs that you are 2 ft short. Always add your finishing allowance for tucking under the top landing and finishing at the base newel post.
Step 2: Prepare the stairs
Remove any old carpet, staples, or tack strips completely. Vacuum thoroughly and check for loose boards or protruding nails — these will telegraph through a new runner and cause premature wear. If you are fitting to bare wood, consider a fresh coat of paint or stain on the exposed sides of the treads before you begin, since this area is much harder to reach once the runner is down.
Step 3: Install the underlay
Cut individual pads of underlay for each tread and riser rather than running one continuous length. Staple each pad into place, keeping it a couple of inches back from the front edge of the nosing so it does not create a lump. This individual-pad method is the standard trade approach and gives a cleaner, more durable result than a single long roll.
| Stage | US Time Estimate | UK Time Estimate |
|---|---|---|
| Prep and strip old carpet | 1-2 hours | 1-2 hours |
| Underlay fitting | 1-2 hours | 1-2 hours |
| Runner fitting (13 steps) | 3-5 hours | 3-5 hours |
| Finishing and clean-up | 1 hour | 1 hour |
Know your numbers in 30 seconds
Enter your step count, tread depth and riser height — the stair runner calculator gives you the exact length to order, in metres and feet, with waste included.
Open the stair runner calculatorStep 4: Fit the runner, step by step
Start at the top or bottom, depending on your preferred method, and work one step at a time. Staple the runner into the crease where the riser meets the tread below, pull it taut and square, wrap it over the nosing, and staple again at the back of the tread before moving to the next riser. Use a stair tool to push the carpet firmly into the crease for a crisp line. Check the runner is centred every two or three steps using your chalk line or measured gap markers.
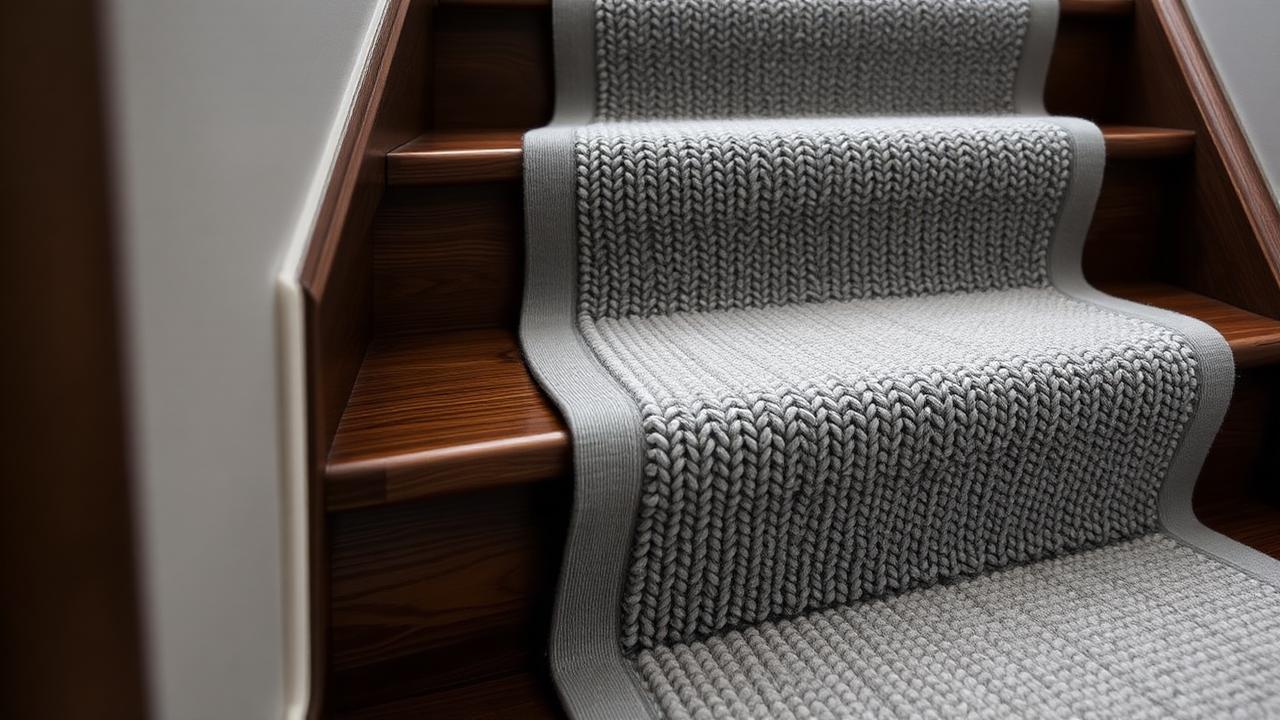
Keep it square
Every few steps, measure the gap on both sides of the runner to the stair edge. A drift of even a quarter inch compounds visually over a full flight, so correct it immediately rather than at the end.
Step 5: Finish top and bottom
At the top landing, tuck the raw edge under the landing carpet or bind it with a gripper bar. At the bottom, wrap the runner around the final nosing and staple it underneath the tread, or use a closing rod if you are running stair rods throughout. A neat finish here is what separates a DIY job from a professional one, so take your time.
- Dry-fit the runner before stapling anything permanently.
- Work one step at a time, checking centring regularly.
- Use individual underlay pads rather than one continuous strip.
- Finish both ends cleanly with a tuck, gripper, or closing rod.
Common beginner mistakes
The most common issues are under-ordering length, pulling the runner too tight (which causes rippling as the house settles), and stapling through the pile rather than the backing. Take your time on the first two or three steps to get your rhythm, and the rest of the flight will go much faster.
Spec checks before you buy your materials
Before ordering, confirm four things: total length from your calculator figure, runner width relative to your stair width (leaving an even margin of exposed tread on both sides, typically 2-4 in / 5-10 cm per side), underlay thickness (usually 0.25-0.4 in / 6-10 mm for stairs, thinner than a room underlay so the nosing does not feel spongy), and the fixing method you intend to use. Getting any one of these wrong after the runner arrives usually means a costly reorder, so double-check all four against your actual staircase rather than a generic product listing.
It also pays to check the runner's backing type against your stair surface. A rubber or PVC-backed runner can grip painted wood well but may need a breathable backing on sealed hardwood to avoid trapping moisture underneath over time. If in doubt, ask the supplier which backing suits bare wood, painted wood, and sealed hardwood specifically, since these are treated differently by most manufacturers.
Cost bands for a DIY install
DIY installation saves the labour portion of a professional quote, which is typically the second-largest line item after the runner material itself. Tool costs are a one-off if you do not already own a staple gun and stair tool, and most of that outlay is recovered on a single project compared to hiring a fitter.
| Item | US Cost | UK Cost |
|---|---|---|
| Staple gun + stair tool (one-off) | $40-80 | £35-65 |
| Underlay (13 steps) | $60-120 | £50-100 |
| Runner (mid-range, 24 ft / 7.3 m) | $450-900 | £400-800 |
- Confirm length, width margin, underlay thickness, and fixing method before ordering.
- Match the runner backing to your specific stair surface.
- Recover tool costs quickly by skipping professional labour fees.
- Keep spare staples and a repair kit on hand for future tightening.
Once fitted, a DIY runner needs the same maintenance as a professionally installed one: regular vacuuming, prompt spot-cleaning of spills, and an annual check of the staples nearest the nosing, since this is the highest-flex point on every step and the first place a fixing can work loose. Re-tensioning a slightly loose section takes minutes with the same staple gun used for the original install, so keep it rather than returning or lending it out once the job is done.
Final walk-through checklist
Before calling the job finished, walk down every step checking that the runner is centred, the pile lies flat with no ripples, and every staple is fully seated below the surface of the pile so nothing catches a sock or bare foot. Press firmly along each nosing wrap to confirm it has not started to lift, since this is the first place a DIY install shows early weakness.
Photograph the finished flight for your own records, noting the supplier, dye lot, and quantity used. This small habit makes any future repair, extension, or insurance claim considerably easier to resolve without a fresh site visit.
Whatever you decide, get the numbers first: the stair runner calculator doubles as a stair runner length calculator, adding nosing wrap, landings, winders, pattern repeat and waste so you order the right length the first time.
Still deciding on material, width or pattern? Our hub on stair runners compares weaves, widths, backings and fitting styles side by side, then hands the numbers straight to the calculator.
Frequently asked questions
Can a beginner really install a stair runner?
Yes, with patience and the right tools, most competent DIYers can complete a 13-step flight in a weekend.
What tools are essential?
A staple gun, stair tool, sharp carpet knife, tape measure, and knee pads are the core essentials.
Should I use staples or stair rods?
Staples give a clean, minimal look, while stair rods add visible detail and can help hold the runner extra securely.
How long does a DIY install take?
Budget a full day for a 13-step flight, including prep, underlay, and finishing.
Do I need individual underlay pads or one long strip?
Individual pads per tread and riser are the trade standard and give a longer-lasting, lump-free result.
What if I run out of runner partway through?
Stop and reorder from the same dye lot rather than continuing with a mismatched piece.
How do I stop the runner slipping?
Ensure it is stapled securely at every crease and use a grip-backed underlay for extra hold.
Is DIY installation cheaper than hiring a fitter?
Yes, it typically saves the cost of professional labour, though it takes considerably longer and carries more risk of mistakes.
Know your numbers in 30 seconds
Enter your step count, tread depth and riser height — the stair runner calculator gives you the exact length to order, in metres and feet, with waste included.
Get your exact length from the stair runner calculatorReady for real prices?
Get quotes from vetted stair runner suppliers and fitters near you. Free, no account, no obligation.
Every guide is written from hands-on measuring and fitting experience, checked against the calculator’s own maths, and re-reviewed whenever prices or methods change. Read our editorial standards.