

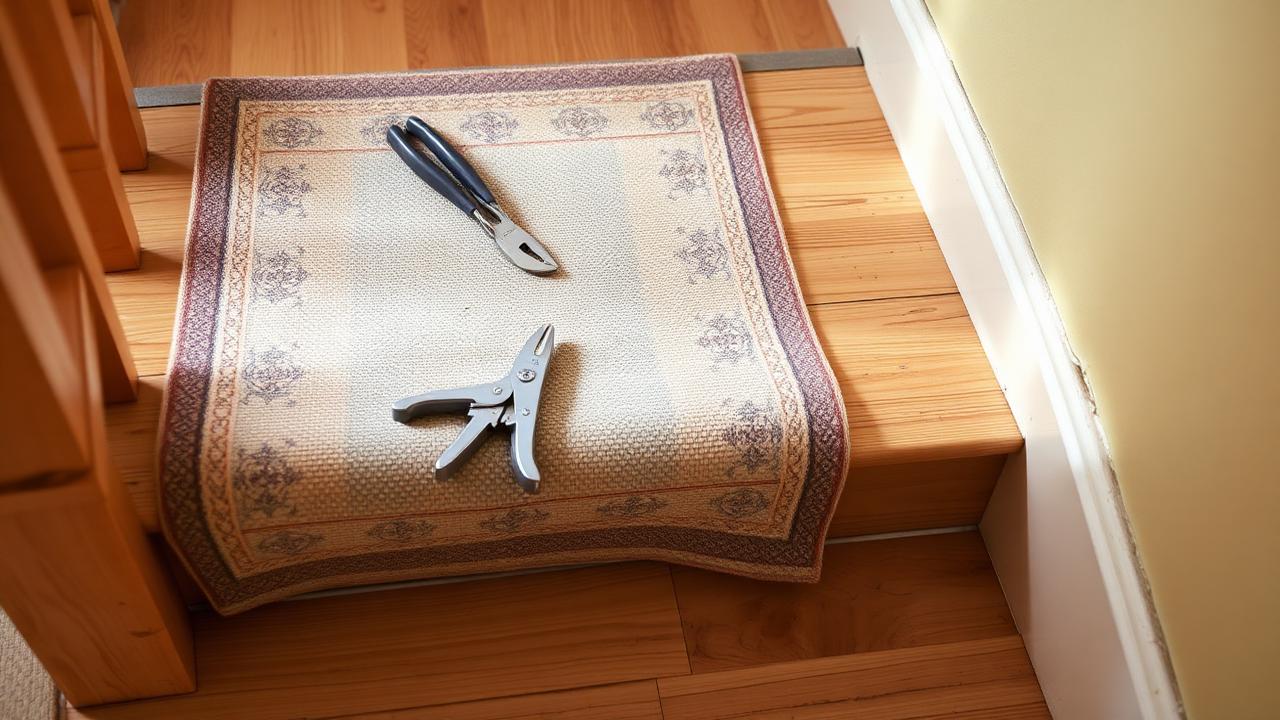
The pre-fit checklist
- Strip the old covering, underlay, gripper and every staple.
- Walk the flight and mark every squeak with tape.
- Screw squeaking treads down through the tread into the riser and stringer; countersink and fill.
- Fill and sand any holes that will fall outside the new runner width.
- Paint or stain the exposed margins — do this before the runner goes down, never after.
- Measure the depth and width of every tread, not just one.
- Mark a centre line on each tread with chalk or low-tack tape.
- Vacuum thoroughly, including the crease of each step.
Paint the margins first
Cutting in paint against a fitted runner is slow, and one slip ruins the binding. Paint or stain, let it cure, then fit. If the margin is bare timber, three coats and a full cure day is standard.
Measure every tread — they are rarely identical
In older houses it is normal to find 10–15mm of variation between the widest and narrowest tread on a flight, and winders vary far more. Two numbers matter before you order:
- The narrowest tread width — this caps your runner width if the reveal is to be equal all the way up.
- The deepest tread and tallest riser — these set the length calculation so you never come up short.
Feed those measurements into the calculator rather than averaging in your head. Averaging is exactly how people end up one step short at the top.
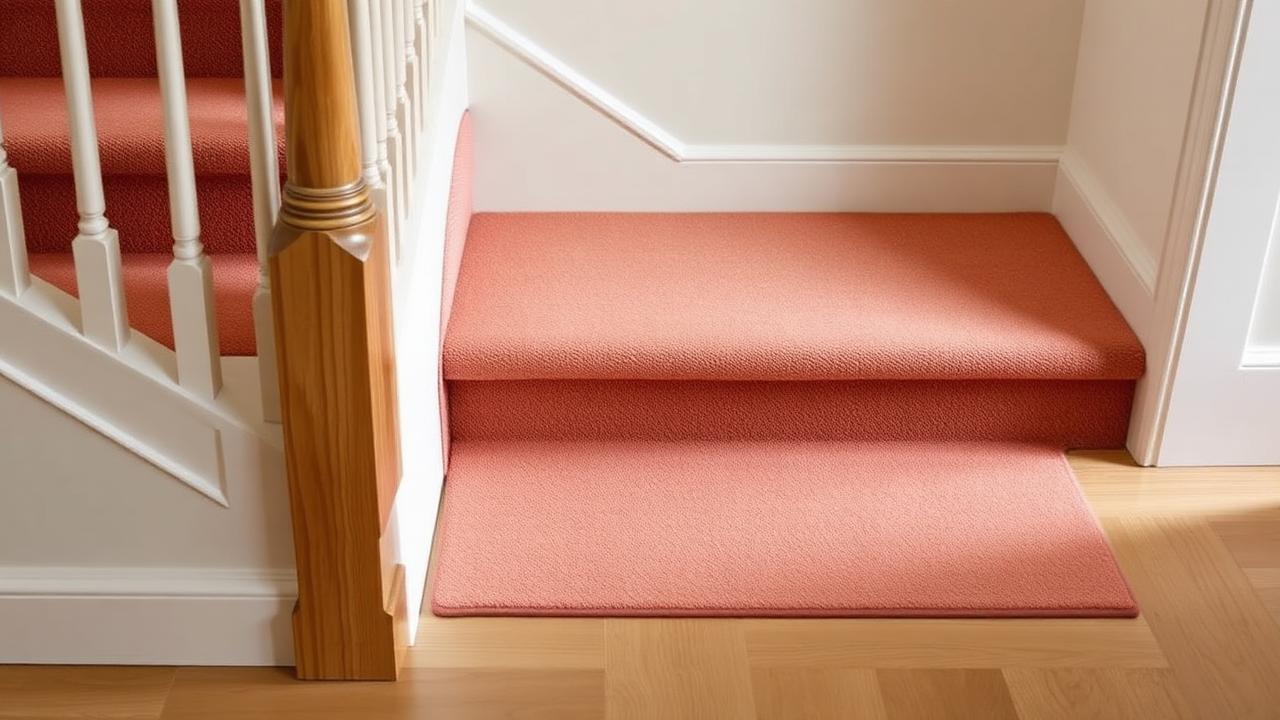
Squeaks, loose nosings and soft treads
| Problem | Fix before fitting |
|---|---|
| Squeak at the front of the tread | Screw down through the tread into the riser, two screws per tread |
| Squeak at the back | Glue blocks or screws from underneath if the stair is open below |
| Loose or lifted nosing | Glue and screw; a moving nosing will wear a runner through in months |
| Springy tread | Add a bearer or sister the carriage from below before covering it |
| Damp or stained timber | Trace the source and dry fully — never trap moisture under a runner |
Set your centre line
Do not centre the runner on the tread by eye. Measure the width of each tread, mark the midpoint, and snap a light chalk line or run a strip of low-tack tape up the flight. On staircases where a wall is out of square, centring on the wall instead of the tread often looks better — decide before you start, not halfway up.
Know your numbers in 30 seconds
Enter your step count, tread depth and riser height — the stair runner calculator gives you the exact length to order, in metres and feet, with waste included.
Open the stair runner calculatorOrder of trades
- Structural repairs and squeak fixes
- Filling and sanding
- Painting or staining, fully cured
- Underlay or pads
- Runner fitting
- Rods, clips and finishing touches last
Whatever you decide, get the numbers first: the stair runner calculator doubles as a stair runner length calculator, adding nosing wrap, landings, winders, pattern repeat and waste so you order the right length the first time.
Frequently asked questions
Should I paint my stairs before fitting a runner?
Yes. Painting or staining the exposed margins first is far faster and cleaner than cutting in around fitted carpet, and it removes any risk of splashing the binding.
Do I need to fix squeaky stairs before a runner goes down?
Absolutely. Once the runner is fitted you would have to lift it to reach the fixings. Screwing treads down while they are bare takes minutes per step.
How do I find the centre line for a stair runner?
Measure the width of each tread individually, mark each midpoint, and check the marks form a straight line up the flight. If the stair is out of square, choose whether to follow the treads or one wall and stick to it.
How long does preparing stairs take?
Budget one to two hours per flight for a straightforward prep, plus curing time if you are painting. Full strip-and-refinish work is a weekend job.
Know your numbers in 30 seconds
Enter your step count, tread depth and riser height — the stair runner calculator gives you the exact length to order, in metres and feet, with waste included.
Confirm your runner length