

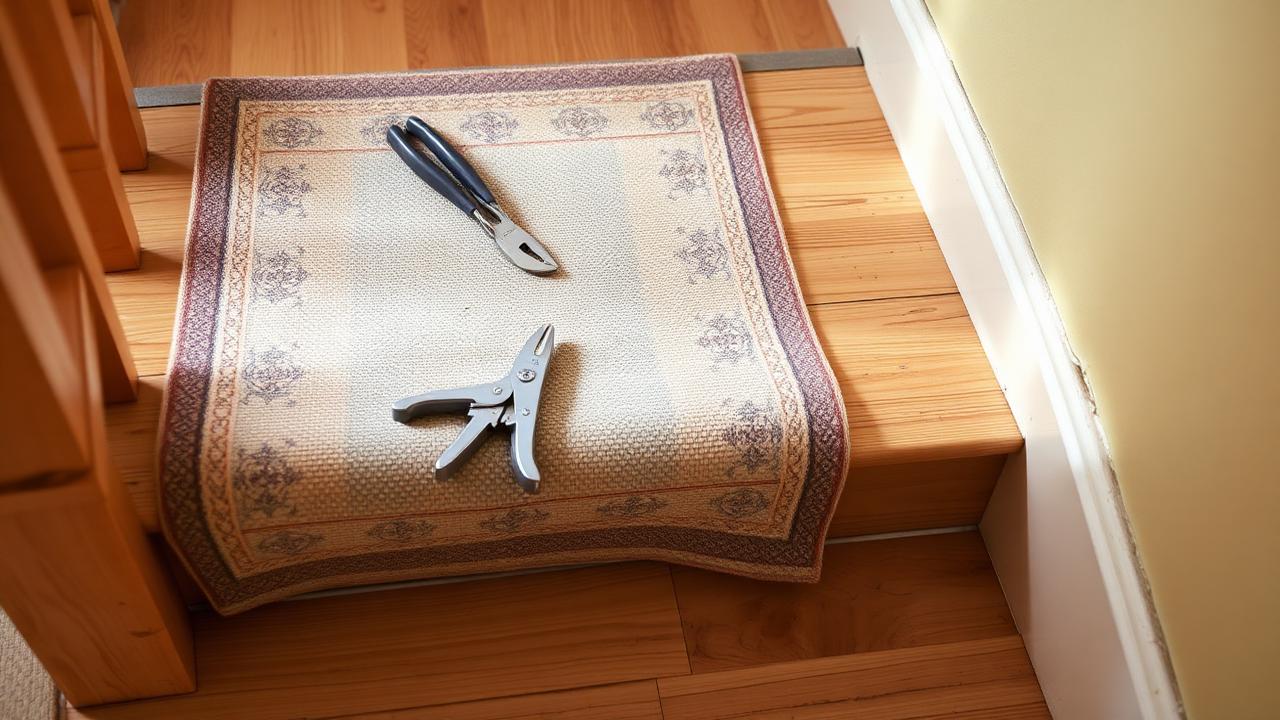
What you need
- Heavy-duty work gloves — old gripper rods are effectively rows of nails
- Pliers or end nippers for staples that break
- A dedicated staple remover or a stiff flat-blade screwdriver
- A small pry bar and a scrap of wood to protect the tread when levering
- A sharp utility knife to cut the runner into manageable sections
- A shop vacuum, plus dust sheets at the bottom of the flight
- A screwdriver or hex key if the runner sits under rods or clips
Check the age of the house before you start
Pre-1980s adhesives and backings can contain asbestos-bearing materials, and paintwork under an old runner may be lead-based. If the runner is decades old and glued down, get it checked rather than sanding or breaking it up dry.
Work from the top down
- Remove any stair rods, clips or brackets first and bag the fixings — brass rods are worth keeping even if the runner is not.
- Start at the top step. Slide the pry bar under the runner's top edge and lift enough to grip it by hand.
- Pull the runner toward you and down, a few steps at a time. Cut it into sections of three or four steps as you go so you are never wrestling six metres of carpet on a staircase.
- Roll each section face-in as you cut it free and carry it out — loose carpet on stairs is a genuine fall risk.
- Lift the underlay the same way. It usually tears; that is fine, it is not going back down.
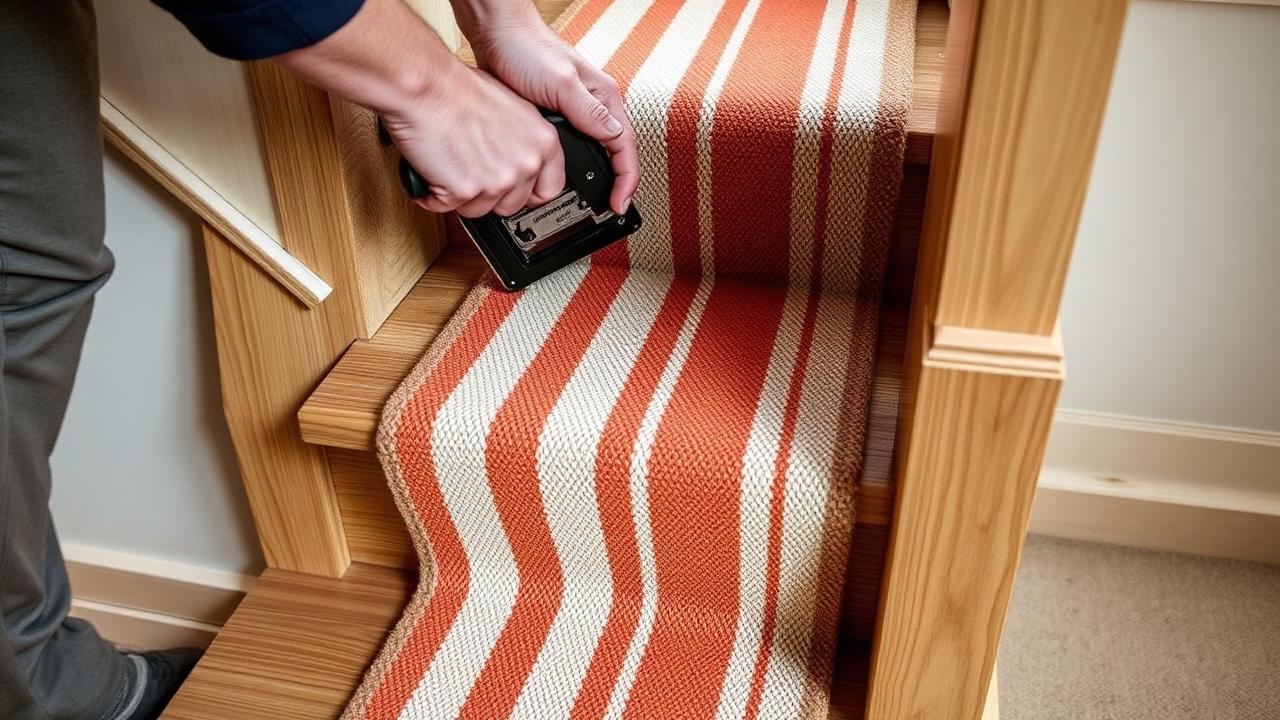
The staples are the actual job
A professionally fitted runner can carry 30–60 staples per step once you count the underlay. Expect to spend more time on staples than on the carpet itself.
- Work one step at a time and finish it fully before moving on — half-cleared steps are where people cut their hands.
- Rock the staple remover under the crown and lever straight up; twisting snaps the crown and leaves both legs buried.
- For snapped staples, grip a leg with end nippers and roll the tool rather than pulling — rolling walks the leg out without gouging the timber.
- Run a gloved hand and then a magnet or vacuum over each tread before moving down.
Gripper rods, tacks and adhesive
If the runner sat on gripper (tack strip), lever it up with a pry bar on a scrap of wood so the fulcrum sits on the timber, not the nosing. Pull nails that stay behind. Old bitumen or latex adhesive is best softened with a purpose-made adhesive remover and scraped with a plastic blade — aggressive sanding spreads it and clogs paper.
Making good afterwards
| What comes next | What the treads need |
|---|---|
| A new runner in the same width | Staple holes vacuumed out, loose timber refixed, no filling needed — the new runner covers the same zone |
| A new, narrower runner | Fill and sand any holes outside the new runner width, then stain or paint the exposed margins |
| Bare stained or painted treads | Full fill, sand from 80 to 180 grit, then stain or paint — allow a full day per flight |
| Full stair carpet | Just fix squeaks and clear staples; the carpet hides everything else |
This is the ideal moment to kill squeaks. With the treads bare, drive screws through the tread into the riser and stringer, countersunk and filled. You will never have this access again without pulling the next runner up.
Know your numbers in 30 seconds
Enter your step count, tread depth and riser height — the stair runner calculator gives you the exact length to order, in metres and feet, with waste included.
Open the stair runner calculatorHow long it takes
For a typical 13-step straight flight: 20–30 minutes to pull the runner and underlay, 60–90 minutes on staples, and another 30–60 minutes on filling and vacuuming if you are going to bare wood. Winders and landings add roughly 15 minutes each.
Whatever you decide, get the numbers first: the stair runner calculator doubles as a stair runner length calculator, adding nosing wrap, landings, winders, pattern repeat and waste so you order the right length the first time.
Frequently asked questions
How do you remove a stair runner without damaging the wood?
Lever with a pry bar resting on a scrap of wood, never directly on the nosing, and roll snapped staples out with end nippers instead of pulling straight up. Both habits stop the classic crescent-shaped gouges near the tread edge.
Do I have to remove the staples, or can I hammer them flat?
Remove them. Flattened staples telegraph through a new runner as hard bumps and can cut the backing over time. The only exception is a deeply buried leg with no crown showing — punch that below the surface and fill.
Can I reuse the underlay under a new stair runner?
No. Stair underlay compresses permanently along the nosings, and it is the cheapest part of the job. Always fit new pads or underlay with a new runner.
How much does it cost to have a stair runner removed?
Fitters typically charge for one to two hours of labour per flight, or roll removal into the price of a new installation. Removal alone is often quoted as a small fixed fee per staircase.
How do I remove a stair runner held with rods?
Loosen the rod finials or brackets, lift the rods out, then the runner is usually only stapled at the top and bottom. Rod-fitted runners are the quickest of all to remove.
Know your numbers in 30 seconds
Enter your step count, tread depth and riser height — the stair runner calculator gives you the exact length to order, in metres and feet, with waste included.
Size up the replacement runner