

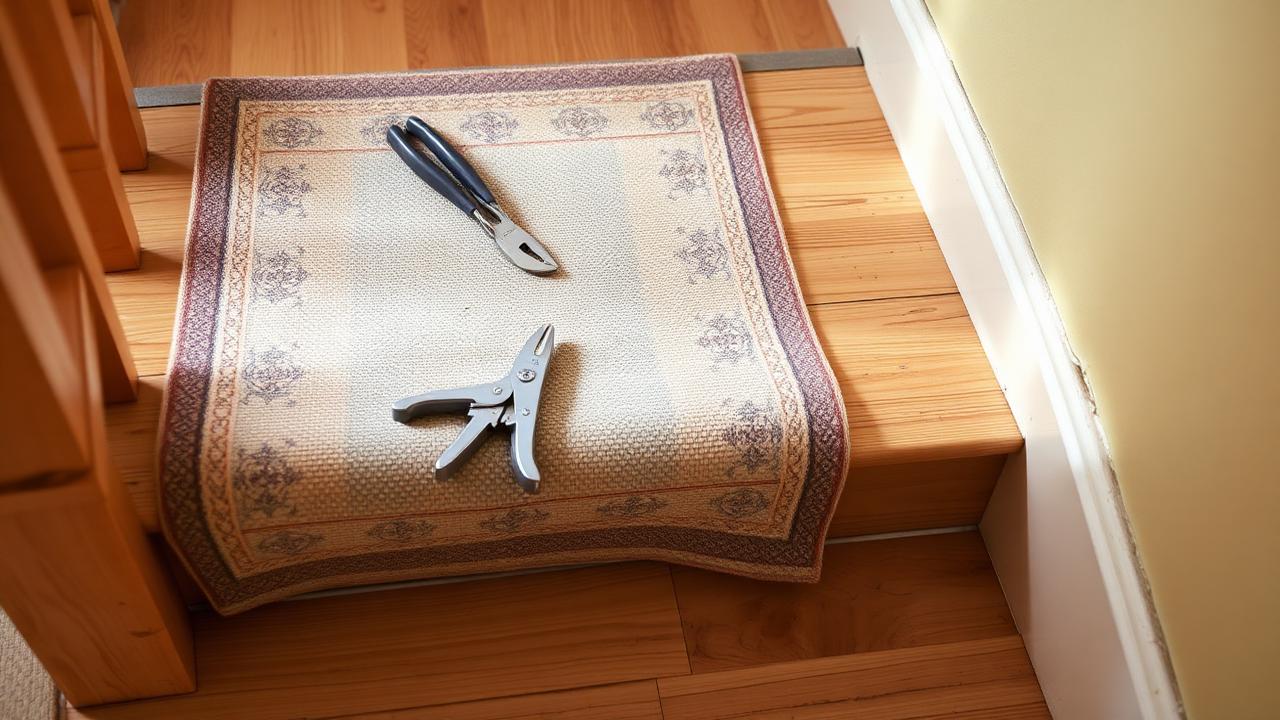
Installation & DIY

How to Fit a Stair Runner Without Damaging Hardwood Stairs

Beautiful hardwood stairs and a stair runner are not in conflict — a runner is what stops those treads being sanded flat in ten years. The trick is choosing fixings that live in places you will never see, and never gluing anything.

Start with the numbers: our stair runner calculator also works as a stair runner length calculator, adding nosing wrap, landings, winders, pattern repeat and waste so you order the right length first time.

By Thomas Bramley, Estimating editor · · 6 min read

Last updated · Reviewed by James Whitfield, Stair runner fitter and flooring estimator

How to Fit a Stair Runner Without Damaging Hardwood Stairs — a part-unrolled runner and underlay on bare timber stairs

The three zones on a hardwood step

ZoneVisible when runner is removed?Fixings allowed
The crease (tread/riser internal corner)Barely — shadowed and shieldedStaples, clips, gripper
The riser face behind the runnerYes, but flat and easy to fillClip and bracket screws
Open tread face and nosingVery — this is the show surfaceNothing, ever

One rule that prevents 90% of damage

No fixing goes anywhere a future homeowner would see if the runner came up. That single rule rules out nosing staples, face-nailed gripper on the tread and every adhesive.

Choosing fixings that leave the smallest mark

  • Narrow-crown staples in 6–10mm leg lengths — long enough to bite, short enough to remove cleanly.
  • Stainless or galvanised fixings if the hallway ever gets damp; plain steel can rust and stain oak black.
  • Gripper cut 25–30mm shorter than the runner width at each end so the pins never sit under an exposed margin.
  • Screws rather than nails for any bracket, so removal is a reversal instead of a wrestle.

Protecting the finish itself

Hardwood finishes and carpet backings do not always get along. Latex and bitumen backings can bloom or discolour some oil finishes, and rubber pads occasionally leave a shadow on freshly finished floors.

Waterfall versus Hollywood stair runner installationLeft: a waterfall runner drops straight from the nosing to the next tread. Right: a Hollywood runner is upholstered tight into the angle of every step.WaterfallHollywoodSoft drop, uses more lengthTight to the step, crisp lines
Waterfall versus Hollywood: the same flight, two amounts of carpet.
  1. Let a newly finished staircase cure fully before fitting — typically 7 days for oil, up to 21 days for waterborne polyurethane.
  2. Use a felt or wool-blend pad rather than solid rubber on very new finishes.
  3. Test any pad on the least visible tread for a week before committing to the flight.
  4. Vacuum the treads spotlessly first — grit trapped under a pad grinds the finish every time someone walks up.
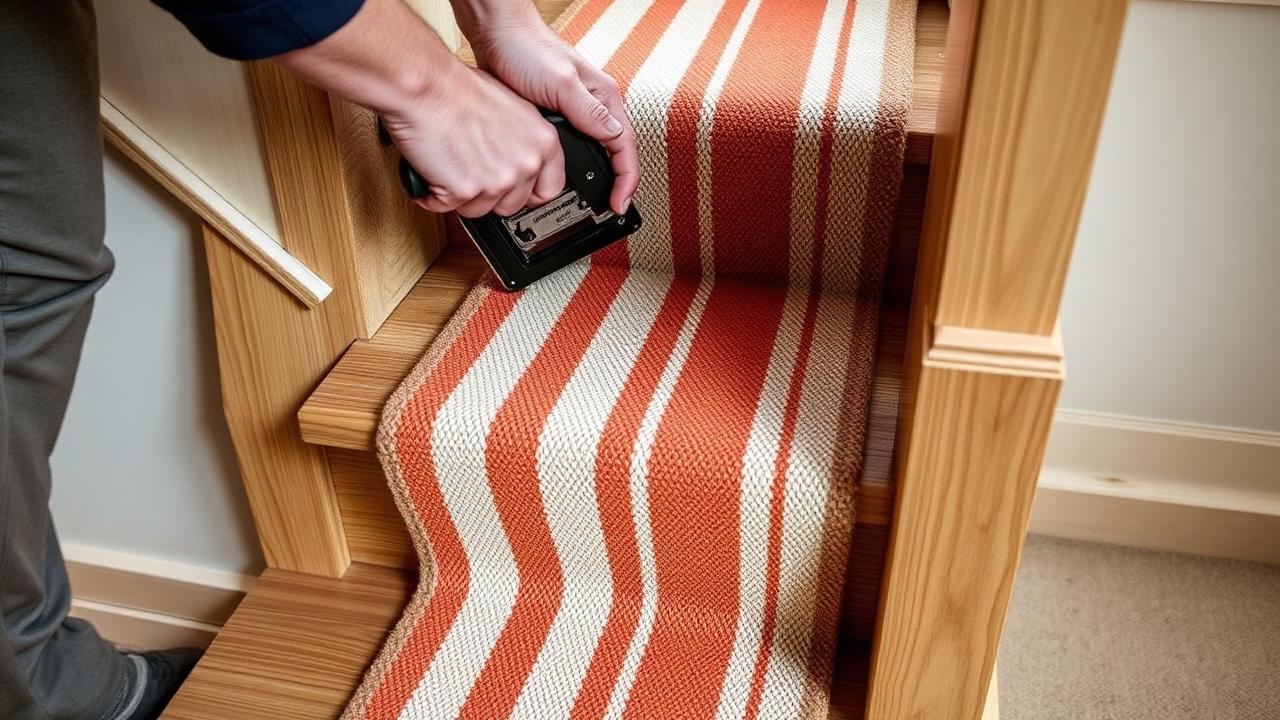
Staples being fired into the crease rather than the visible tread face
The crease takes the fixings; the tread face and nosing stay untouched.

If you have already made holes

  • Small staple holes in stained oak: a wax filler stick in a matched shade, buffed level, is invisible from standing height.
  • Larger holes: two-part wood filler tinted to the stain, then a matching topcoat feathered over the tread.
  • Rust stains from steel fixings: oxalic acid wood bleach, neutralised and refinished.
  • Splintered nosing edge: glue and clamp the splinter back before it breaks off — replacement nosings never match.

Know your numbers in 30 seconds

Enter your step count, tread depth and riser height — the stair runner calculator gives you the exact length to order, in metres and feet, with waste included.

Open the stair runner calculator

Width matters more than you would think

The exposed margin either side of the runner is the part of the hardwood that keeps ageing in the light. If you ever change runner width, the old margins will have toned differently to the covered strip. Pick a width you will stay with — 30–38cm of reveal in total is the classic look — and use the width calculator to confirm it against your actual tread before ordering.

Solid wood species and how forgiving they are

SpeciesFixing toleranceNotes
Oak (rift/quarter sawn)Good — dense and stableFilling small holes is easy to blend
Pine / softwoodFair — softer, marks more easilyGrit under a pad wears softwood faster
WalnutGood but shows contrast fillersMatch filler carefully, tone shifts with light
Engineered oak veneerPoor tolerance for deep fixingsStaples must stay shallow to avoid the veneer layer

Watch the veneer thickness

Engineered boards typically carry a 3–6mm hardwood veneer over a plywood core. A staple leg deeper than the veneer will punch through into the substrate and can telegraph as a dark speck once refinished — check a manufacturer's spec sheet before fixing anything.

Step-by-step: fitting onto hardwood without marking it

  1. Vacuum and lightly damp-wipe the treads, then let them dry fully.
  2. Dry-fit the runner and check the reveal is identical on every step before any fixing goes in.
  3. Fit gripper or pads only within the crease footprint, never overhanging onto the visible tread.
  4. Fire staples at a shallow angle into the crease so the leg travels along the joint rather than straight down into show timber.
  5. Step back every three or four treads and check for splinters or lifted grain before continuing.

Cost of getting it wrong

A stray staple through a stained oak nosing costs almost nothing to fix if caught immediately — a wax stick and five minutes. Left unnoticed under a runner for a year, moisture and grit can turn that same mark into a stain needing a full sand-and-refinish of the tread, which on a flight of stairs runs £250–£600 / $320–$770 for arefinisher. The gap between a five-minute fix and a five-hundred-pound repair is entirely down to fixing placement and vigilance during fitting.

DIY versus hiring a fitter on hardwood

If your stairs are original, listed, or recently refinished at real expense, this is one job worth paying a fitter for. An experienced fitter reads the grain, knows how far a staple leg travels in oak versus pine, and carries fine wax fillers for immediate touch-ups. Budget £20–£35 / $25–$45 per step for professional fitting on hardwood, a premium over standard carpeted-stair fitting that reflects the extra care required.

Checklist before you start

  • Finish fully cured — confirmed with the flooring contractor or product datasheet, not guessed.
  • Fixings chosen and leg length checked against tread and riser thickness.
  • Test pad trialled on the least visible step for at least a few days.
  • Filler and touch-up wax on hand in the matching stain shade before you start, not ordered afterwards.
  • Runner width and reveal confirmed against the narrowest tread using the width calculator.

Insurance and resale value considerations

Original hardwood stairs are a genuine selling point, and buyers or surveyors sometimes ask to see under a runner during a valuation. Keeping fixings within the crease and riser zones means you can lift a section on request without revealing a damaged tread face, which protects both the sale value and your peace of mind while you live with the stairs covered.

A quick reference for fixing depths

SubstrateMaximum safe staple legNotes
Solid hardwood, 22mm+ tread12-16mmPlenty of clearance below the crease
Solid softwood, 20mm tread10-12mmWatch for knots that split more easily
Engineered veneer, 3-6mm face6-8mmStay well inside the veneer thickness
Reclaimed or antique treads6-10mmTest on an inconspicuous area first

Whatever you decide, get the numbers first: the stair runner calculator doubles as a stair runner length calculator, adding nosing wrap, landings, winders, pattern repeat and waste so you order the right length the first time.

Still deciding on material, width or pattern? Our hub on stair runners compares weaves, widths, backings and fitting styles side by side, then hands the numbers straight to the calculator.

Frequently asked questions

Will a stair runner damage hardwood stairs?

Not if fixings go only into the crease and risers. The runner actually protects the treads from wear; the damage comes from staples through the visible tread face, adhesives, and grit trapped beneath a pad.

Can you glue a stair runner to hardwood?

Don't. Carpet adhesive bonds to the finish, and removal takes the finish — and sometimes wood fibre — with it. Mechanical fixings are always reversible.

How long should I wait after refinishing stairs before fitting a runner?

Follow the finish manufacturer, but plan on about a week for hardwax oils and two to three weeks for waterborne polyurethane. Covering an uncured finish traps solvent and can leave permanent marks.

Do stair runner pads mark hardwood?

Solid rubber pads occasionally leave a shadow on new finishes. Felt or wool-blend pads with a light rubberised face are the safer choice, and testing on one tread first removes the risk.

Is it worth hiring a professional to fit a runner on hardwood?

For original or recently refinished stairs, yes. A fitter who works regularly with hardwood knows exactly how far a fixing can travel in different timbers and carries touch-up fillers for instant repairs, which is cheap insurance against a costly refinish.

Can engineered oak stairs take a stapled runner?

Only with short-leg staples kept within the veneer thickness, typically 3–6mm. Check the manufacturer's spec first, since a staple that reaches the plywood core can telegraph as a mark once the stairs are ever refinished.

How do I fix a staple mark on a stained oak tread?

For small holes, a coloured wax filler stick matched to the stain, melted in and buffed level, disappears from normal viewing height. Larger holes need tinted two-part wood filler and a feathered topcoat to blend properly.

Know your numbers in 30 seconds

Enter your step count, tread depth and riser height — the stair runner calculator gives you the exact length to order, in metres and feet, with waste included.

Check your reveal each side

Every guide is written from hands-on measuring and fitting experience, checked against the calculator’s own maths, and re-reviewed whenever prices or methods change. Read our editorial standards.

Keep reading