
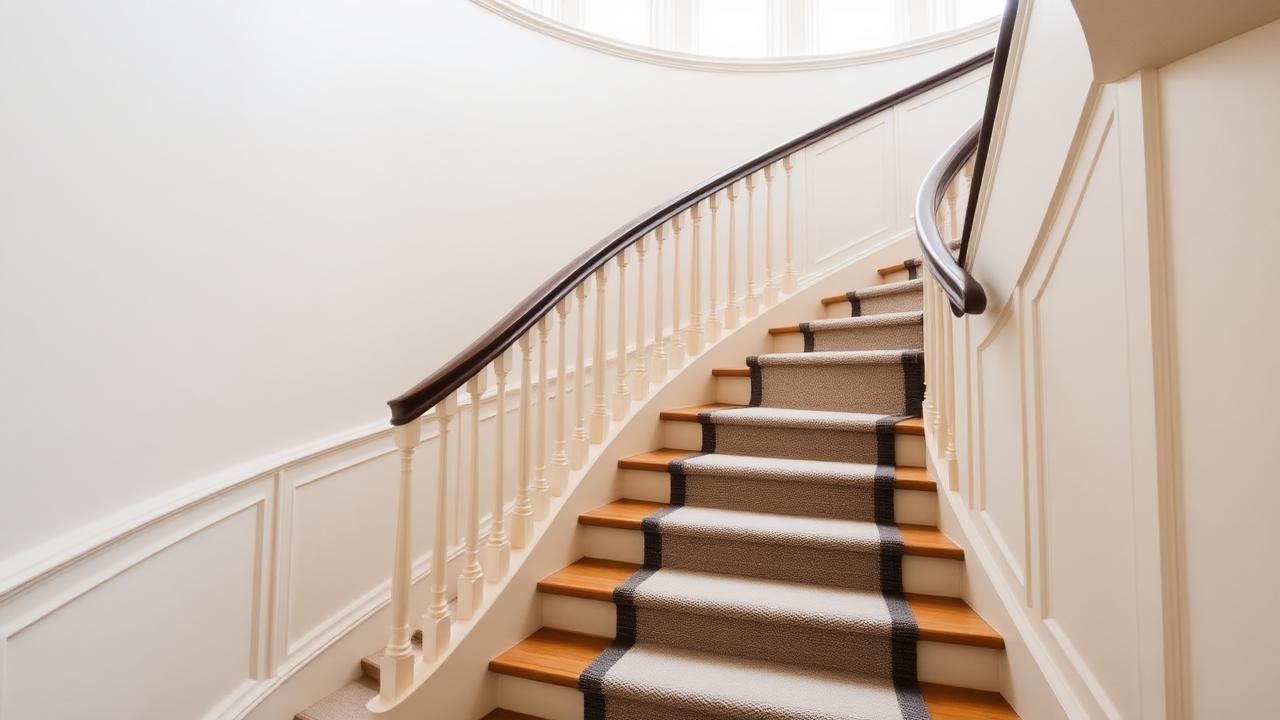
Is a landing turn a realistic DIY project?
Yes, with one caveat: a DIY stair runner with a landing is much more manageable if you use the separate-piece method at the corner rather than a continuous mitred runner. A mitred 45-degree seam that lines up a pattern across two different directions of travel is genuinely difficult to get right without fitting experience, while a clean break — runner ends at the landing edge, a separate piece of matching carpet or runner covers the landing itself, and the next flight starts fresh — is a straightforward, repeatable DIY technique.
Tools and materials
- Heavy-duty staple gun (or gripper strip and a stair rod tucker if using a traditional method) rated for carpet installation.
- Sharp carpet knife and a straightedge for cutting.
- Tape measure and a stair runner calculator or stair runner length calculator to plan yardage before cutting anything.
- Firm underlay pad, cut to width, for each tread and the landing.
- Carpet tape or double-sided adhesive for the landing piece, plus staples for the flights.
- A helper — landing pieces in particular are easier fitted with two people holding tension.
Step-by-step process
- Measure flight A (bottom flight) and flight B (top flight) separately using the tread-by-tread method — riser height plus tread run per step, summed down each flight.
- Measure the landing as a simple width x depth rectangle, adding an inch or two of overage on each edge for trimming.
- Cut underlay pad pieces for every tread on both flights and for the full landing area.
- Starting at the bottom of flight A, staple the runner at the back of each tread against the riser, working up one step at a time using a waterfall fold over each nosing.
- At the top of flight A, cut the runner cleanly at the edge of the landing rather than trying to carry it around the corner.
- Fit the landing piece separately, taping or stapling it flush against the top edge of flight A's runner so the join sits tight against the riser line, not out in the open field of the landing.
- Start flight B fresh from the landing edge, repeating the waterfall method up to the top.
- Trim and finish both ends of the whole run (binding, tucking, or a metal edge strip) per your chosen top-and-bottom finish.
Code and safety checks before you start
Confirm the landing itself meets the minimum depth for its stair width — 36in under IRC, or equal to stair width under UK Part K — since a too-small landing is a structural/layout issue no amount of careful carpet fitting can fix. Also check riser height consistency (max 3/8in variation under IRC) before fitting, because an uneven riser under the runner will telegraph through the carpet as a visible lip that becomes a trip hazard.

| Check before fitting | IRC (US) | UK Part K |
|---|---|---|
| Min landing depth | 36in or stair width | Equal to stair width |
| Max riser variation | 3/8in | similarly tight |
| Max riser height | 7.75in | 220mm |
| Min tread depth | 10in | 220mm |
When to call a professional instead
If you want a single continuous, mitred, pattern-matched runner around the turn rather than a visible break at the landing, hire a fitter — matching a repeating pattern across a 90-degree mitre is one of the harder tasks in stair carpentry and mistakes are expensive to redo.
Ordering the right amount
Before buying anything, run each flight through the stair runner calculator to get exact tread-by-tread lengths, add the landing's own rectangle by hand, and use the stair runner length calculator to total waste-adjusted yardage across the whole project. Order 10% extra on top of that total for cutting errors, which are more common on a DIY landing job than on a simple straight flight.
Common DIY landing mistakes
The most frequent DIY error on a landing job is under-measuring the landing rectangle itself — it's easy to measure the two flights carefully and then eyeball the landing as 'about the same as a couple of treads', which usually undercounts it, since a code-minimum landing is generally deeper than a single tread run. A second common mistake is failing to secure the landing piece firmly enough at its edges, since a landing sees multi-directional foot traffic (arriving from one flight, turning, departing up the next) that puts more shear stress on the carpet's edges than a straight flight tread does.
| Mistake | Consequence | Fix |
|---|---|---|
| Under-measuring the landing rectangle | Runner falls short, gap at the landing edge | Measure the landing with a tape, not by eye, before cutting |
| Under-securing landing edges | Corners lift or curl within weeks of use | Use extra staples or a stronger adhesive strip specifically at landing corners |
| Mismatched underlay thickness between flight and landing | Visible step or ridge at the join | Use consistent underlay thickness across flights and landing, or taper the transition deliberately |
Realistic project timeline
For a typical L-shaped stair with one 90-degree landing turn, budget a full weekend for a first-time DIY installation rather than the single afternoon a straight flight might take: expect roughly half a day for measuring, cutting and pad-fitting, and a full day for fitting both flights plus the landing piece, with the landing join itself usually being the slowest single element to get right.
- Day 1 morning: final measurements, cut underlay pad for both flights and landing.
- Day 1 afternoon: fit flight A (bottom flight) using the waterfall method.
- Day 2 morning: fit the landing piece, taking care to secure all edges firmly.
- Day 2 afternoon: fit flight B (top flight) and complete top-and-bottom finishing.
Know your numbers in 30 seconds
Enter your step count, tread depth and riser height — the stair runner calculator gives you the exact length to order, in metres and feet, with waste included.
Open the stair runner calculatorWhatever you decide, get the numbers first: the stair runner calculator doubles as a stair runner length calculator, adding nosing wrap, landings, winders, pattern repeat and waste so you order the right length the first time.
Still deciding on material, width or pattern? Our hub on stair runners compares weaves, widths, backings and fitting styles side by side, then hands the numbers straight to the calculator.
Frequently asked questions
Can I fit a stair runner with a landing myself?
Yes — using a clean break at the landing edge (separate flight pieces plus a landing rectangle) rather than a continuous mitred corner, it's a manageable weekend DIY project.
What tools do I need to DIY a stair runner with a landing?
A heavy-duty staple gun or gripper strip, a sharp carpet knife, underlay pad, tape measure, and carpet tape or adhesive for the landing piece.
Should I mitre the corner myself or hire a fitter?
A mitred, pattern-matched corner is difficult for a first-time DIYer — hire a professional fitter if you want a continuous seamless turn; a clean break at the landing is the DIY-friendly alternative.
How deep does my landing need to be before I fit a runner?
At least 36in under IRC (or the stair's width if greater), and at least equal to the stair's width under UK Part K.
How much stair runner should I order for a DIY landing job?
Sum each flight's tread-by-tread length plus the landing rectangle, then add about 10% extra for DIY cutting allowance on top of the usual waste margin.
What fixing method is easiest for a DIY landing runner?
A staple gun with firm underlay pad is generally easier for a first-time DIYer than traditional gripper strip and stair rods, especially at the landing join.
Know your numbers in 30 seconds
Enter your step count, tread depth and riser height — the stair runner calculator gives you the exact length to order, in metres and feet, with waste included.
Open the stair runner landing calculatorReady for real prices?
Get quotes from vetted stair runner suppliers and fitters near you. Free, no account, no obligation.
Every guide is written from hands-on measuring and fitting experience, checked against the calculator’s own maths, and re-reviewed whenever prices or methods change. Read our editorial standards.