
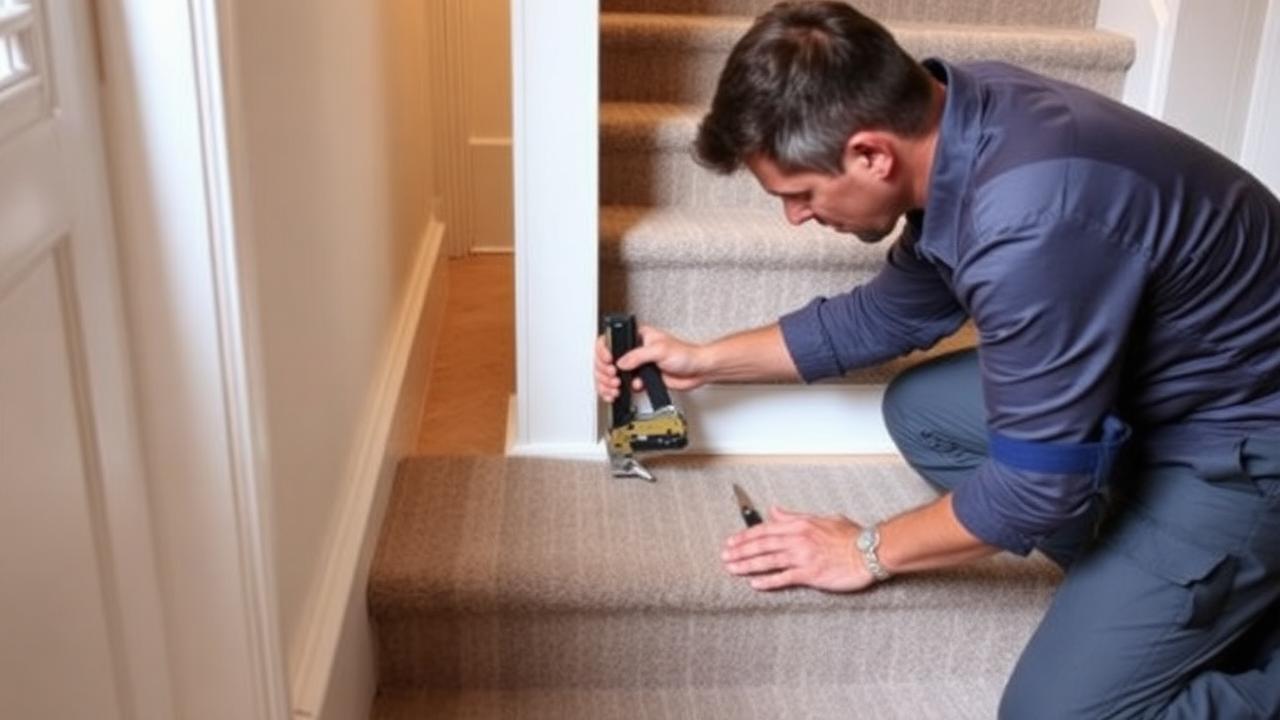
The single rule that matters most
If you remember one thing about stair runner seams, make it this: a seam always sits at a riser crease, never on the flat run of a tread. The riser-to-tread junction is a natural fold line where the eye already expects a change, a shadow line, and a slight break in the surface, so a seam placed there simply reads as part of the step's own geometry rather than as a join in the carpet. A seam placed mid-tread, by contrast, sits directly in the path of every footstep and directly in the sightline of anyone looking down the stairs, and no amount of careful stitching hides that.
This isn't a stylistic preference, it's mechanical too. A seam mid-tread takes the full compressive load of a footstep landing directly on it, which stresses the join and shortens its life regardless of how well it was stitched. A seam at the riser crease takes far less direct load because feet don't generally land squarely on the vertical riser face.
Good and bad placement in practice
On a straight flight without a landing, the best seam positions, if you must join runner lengths at all, are roughly a third and two-thirds of the way up the flight, chosen at whichever riser crease falls closest to those points, rather than forcing the seam to an exact mathematical midpoint that might land awkwardly on a winder or bullnose step. On a flight with a half-landing, the seam almost always belongs at the landing itself, since that's already a natural break in the run's direction and the point where pattern continuity matters least to the eye.
| Location | Suitable for a seam? |
|---|---|
| Riser crease on a straight run | Yes, ideal |
| Half-landing junction | Yes, ideal |
| Flat run of a standard tread | No, avoid |
| Narrow point of a winder or pie step | No, avoid |
| Bullnose or curved starting step | No, avoid |
Walk the stairs before you commit to a seam position
Stand at the bottom of the flight and look up, then stand at the top and look down. Whatever riser crease looks least prominent from both angles is usually your best seam location, more reliable than measuring to a theoretical midpoint.
How much runner do I need?
Planning seam placement means measuring each section of the flight up to the chosen seam point separately. Take a 15-step US flight with a seam planned at the crease after step 9, using 10 in tread run, 7.5 in riser height and 0.75 in nosing wrap, 18.25 in per step. The lower 9-step section needs 164.25 in (13.69 ft), plus a 12 in finishing allowance at the bottom of the flight, giving 176.25 in (14.69 ft) before waste. Apply an 8% waste margin, standard for a section that will be cut and finished independently at the seam end, to reach roughly 15.9 ft. The upper 6-step section needs 109.5 in (9.13 ft), plus a 12 in finishing allowance at the top, giving 121.5 in (10.13 ft), and an 8% waste margin brings that to roughly 10.9 ft. Combined, order about 26.8 ft across both pieces.

In UK measurements, the same 15-step flight with a seam after step 9 uses 25 cm tread run, 19 cm riser height and 1.9 cm nosing wrap, 45.9 cm per step. The lower 9-step section needs 413.1 cm, plus 30 cm finishing allowance for 443.1 cm, and an 8% waste margin brings that to roughly 4.79 m. The upper 6-step section needs 275.4 cm, plus 30 cm for 305.4 cm, and 8% waste brings that to roughly 3.3 m. Combined, order about 8.1 m across both pieces.
Know your numbers in 30 seconds
Enter your step count, tread depth and riser height — the stair runner calculator gives you the exact length to order, in metres and feet, with waste included.
Open the stair runner calculatorFinishing techniques that make a seam disappear
- Cut both edges with a straightedge and a sharp blade, never scissors, since even a slightly wavy cut shows as a wobbly line at the seam.
- Match pile direction exactly across the seam; a runner with pile running the wrong way on one side catches light differently and looks two-toned even with a perfectly straight cut.
- Use binding tape on wool runners and heat-bonded seam tape on synthetic ones, matched to the backing material rather than a generic all-purpose tape.
- Press or roll the seam flat before final fixing so it beds into the underlay evenly rather than sitting slightly proud.
- Fit the gripper or tack strip so it holds the seam firmly at the riser crease, since a loose seam at that point will work itself open faster than anywhere else on the flight.
When to avoid a seam altogether
On a short flight, generally under 14-15 steps, most stair runner rolls comfortably supply one continuous piece, so a seam isn't necessary at all and shouldn't be introduced just because it's how a previous flight in the house was done. On a longer flight or one broken by a landing, plan the seam deliberately at the design stage rather than discovering mid-installation that the ordered length falls a step short, which forces a seam into whatever position happens to be convenient rather than where it looks and performs best.
The best way to avoid an accidental, badly-placed seam is to measure the full flight properly before ordering, using a stair runner length calculator to confirm exactly how much a single continuous piece needs to cover, including nosing wrap and a sensible waste margin. If the total does exceed what a single roll can supply, plan the seam at the design stage at a riser crease you've chosen deliberately, rather than wherever the fitter runs out of carpet on the day. Getting this right the first time, rather than patching a mistake afterward, is the difference between a seam nobody notices and one that's the first thing every visitor sees on the way up the stairs.
Whatever you decide, get the numbers first: the stair runner calculator doubles as a stair runner length calculator, adding nosing wrap, landings, winders, pattern repeat and waste so you order the right length the first time.
Still deciding on material, width or pattern? Our hub on stair runners compares weaves, widths, backings and fitting styles side by side, then hands the numbers straight to the calculator.
Frequently asked questions
Where is the best place to put a seam in a stair runner?
At the base of a riser, in the natural fold where the tread meets the step below. This location already reads as a break point to the eye, so a well-cut seam there blends into the step's own geometry instead of standing out.
Can a stair runner seam go on a winder step?
No, avoid it. The narrow point of a winder or pie step is already visually and structurally busy, and adding a seam there makes it more noticeable and more likely to work loose under the concentrated foot traffic that lands on the narrow section.
Does seam placement matter more than how the seam is stitched?
Yes, placement matters more. A seam at a riser crease with average stitching will look better and last longer than a beautifully stitched seam placed mid-tread, because the riser crease is a natural break line and takes far less direct footstep load.
How do I know where my seam should go on a long staircase?
Walk the flight from both the bottom looking up and the top looking down, and pick whichever riser crease looks least prominent from both angles. On a flight with a half-landing, the landing junction is almost always the best choice.
Should a stair runner seam sit at exactly the midpoint of the flight?
Not necessarily. Choose the nearest suitable riser crease to roughly a third or two-thirds up the flight rather than forcing an exact mathematical midpoint, which might land awkwardly on a winder or bullnose step.
Do patterned stair runners need different seam placement rules?
The placement rule stays the same, always at a riser crease, but patterned runners need extra care matching the repeat across the seam, sometimes requiring a slightly longer cut on one piece so the pattern lines up rather than breaking mid-motif.
Can I avoid needing a seam entirely?
On flights under about 14-15 steps, yes, most rolls supply enough continuous length for one piece. On longer flights or ones broken by a landing, plan for a seam deliberately at the design stage rather than trying to avoid it.
What happens if a seam is placed on the flat of a tread by mistake?
It will sit directly under every footstep and in the direct sightline of anyone looking down the stairs, taking more wear and looking far more obvious than a seam placed correctly at a riser crease. It's a difficult mistake to fix without re-cutting the runner.
Know your numbers in 30 seconds
Enter your step count, tread depth and riser height — the stair runner calculator gives you the exact length to order, in metres and feet, with waste included.
Plan your runner sections accurately with the stair runner calculator before cuttingReady for real prices?
Get quotes from vetted stair runner suppliers and fitters near you. Free, no account, no obligation.
Every guide is written from hands-on measuring and fitting experience, checked against the calculator’s own maths, and re-reviewed whenever prices or methods change. Read our editorial standards.