

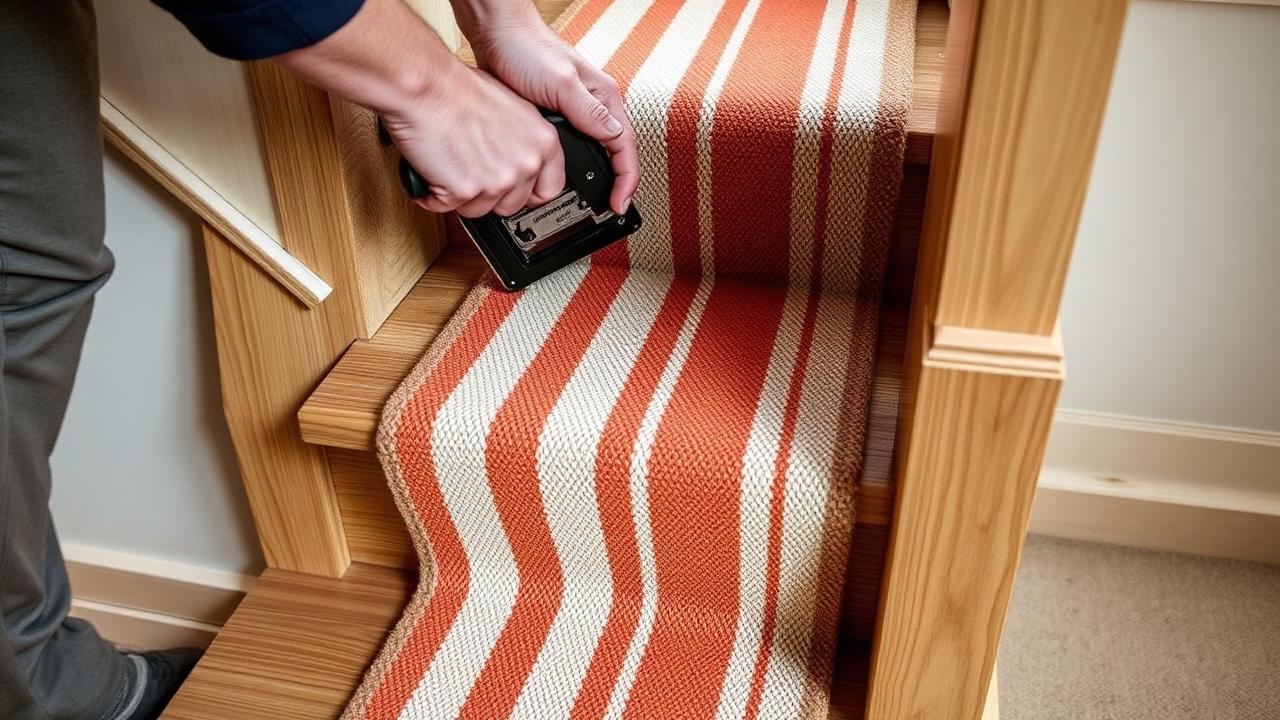
Why no-nail fitting is harder than it looks
A stapled runner is held at every crease, so the force of a footstep is transferred straight into the timber. Remove those fixings and every step tries to push the runner downhill by a millimetre or two. Over a month that is a ruckle; over a year it is a fall. Every method below exists to replace that anchoring.
Method 1 — Grip pad plus tension (lightest use)
- Cut a rubberised non-slip pad for each tread, 3–4cm narrower than the runner on all sides so it never peeps out.
- Lay the runner from the top, pressing hard into each crease as you go.
- Tension by hand at every step — the runner should be tight enough that you cannot lift it more than a few millimetres off the nosing.
- Anchor the very top edge under the top nosing and the bottom edge under the bottom step lip using heavy carpet tape.
Realistic expectation
Pads and tape alone suit low-traffic stairs and short flights. On a family staircase you will be re-setting the runner every few weeks unless you add clips.
Method 2 — Runner clips and brackets (best all-rounder)
Clip systems pinch the runner into the crease and fix with one or two small screws into the riser — not the tread. Riser holes sit in a vertical face nobody looks at closely and fill in seconds when you move out.
- Two clips per step is standard; three on runners over 76cm / 30in wide.
- Set the first clip on the top step, then work down, tensioning before each clip.
- Use screws no longer than 16mm so you never reach the far side of a riser board.
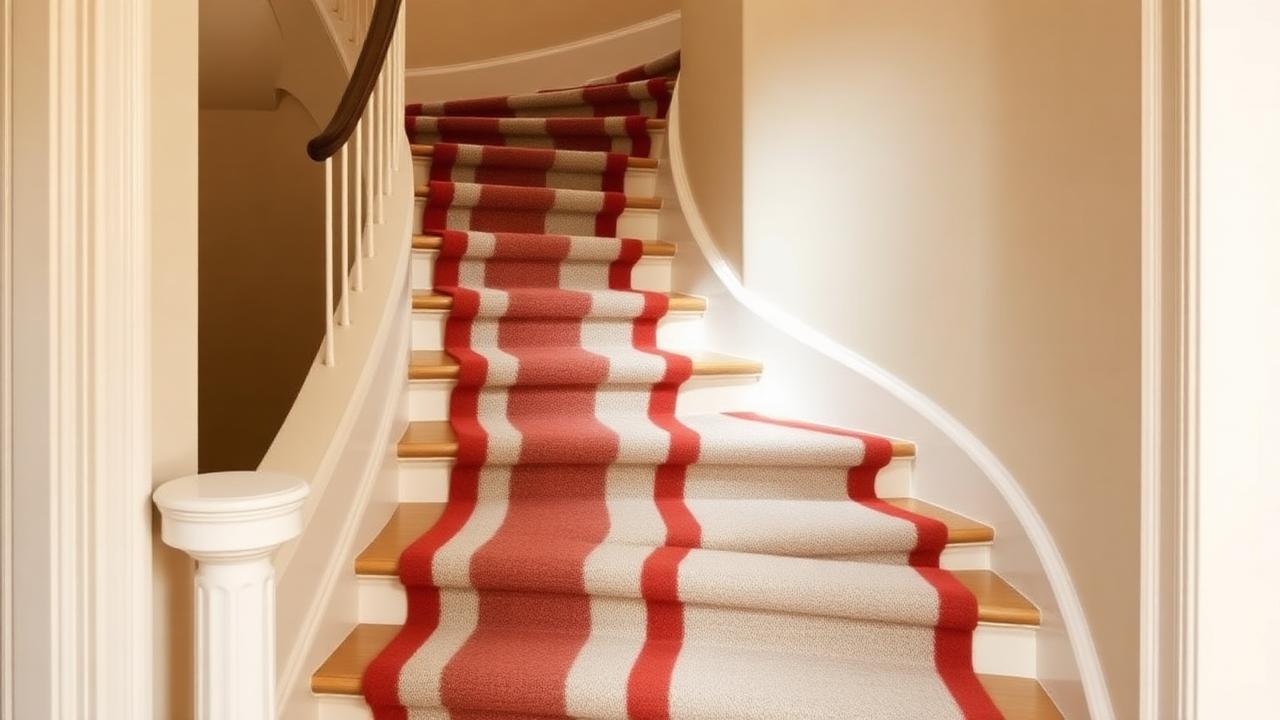
Method 3 — Stair rods with proper brackets
A rod sitting in a bracket at each side of the crease holds the runner mechanically and looks intentional rather than improvised. Brackets screw into the riser, so again the treads stay untouched. This is the classic Victorian solution and it works — it is how runners were fitted before staple guns existed.
| Method | Fixings into | Holding power | Typical cost per step |
|---|---|---|---|
| Grip pads + tape | Nothing | Low | £2–£4 / $3–$5 |
| Runner clips | Riser only | Good | £4–£8 / $5–$10 |
| Rods + brackets | Riser only | Good | £12–£35 / $15–$45 |
| Staples (for comparison) | Tread and riser | Excellent | Pennies |
Tensioning without a knee kicker
- Fit from the top down, never bottom up — gravity then works with you.
- Set the runner square on the first step and check the reveal each side with a tape, not by eye.
- Kneel on the tread and pull the runner toward yourself and down into the crease before fixing.
- Re-check the reveal every third step; a 2mm drift per step becomes a visible 26mm wander over a flight.
Know your numbers in 30 seconds
Enter your step count, tread depth and riser height — the stair runner calculator gives you the exact length to order, in metres and feet, with waste included.
Open the stair runner calculatorWhat to avoid
- Silicone or construction adhesive — it will pull the finish off the treads when removed.
- Velcro strips: they hold for a season, then shed hooks into the pile.
- Cheap thin foam pads, which compress at the nosing and let the runner float.
- Fitting bottom-up, which pushes slack toward the top of the flight where you cannot get rid of it.
Whatever you decide, get the numbers first: the stair runner calculator doubles as a stair runner length calculator, adding nosing wrap, landings, winders, pattern repeat and waste so you order the right length the first time.
Frequently asked questions
Can you install a stair runner without any nails or staples?
Yes. A non-slip pad under the runner plus runner clips or rod brackets screwed into the risers holds a runner securely, leaves the treads untouched, and is fully reversible for renters.
Will double-sided tape hold a stair runner?
Only as a helper. Tape loses adhesion as it warms and picks up dust, so use it to anchor the top and bottom ends and rely on pads and clips for the rest.
Do landlords allow stair runners?
Most are fine with clip or rod systems because the only fixings are small screws in the risers, which fill and touch up invisibly. Always ask first and photograph the stairs beforehand.
Is a no-nail stair runner safe?
It is safe when it is properly tensioned and pinched into every crease. A runner that lifts off the nosing or shifts underfoot is not — recheck the tension monthly for the first few months.
Know your numbers in 30 seconds
Enter your step count, tread depth and riser height — the stair runner calculator gives you the exact length to order, in metres and feet, with waste included.
Calculate your runner length first