

The order of works
Installing a stair runner has a fixed sequence, and every item on it depends on the one before. Doing them out of order is the most common reason a competent DIY job ends up looking wrong: sanding the treads after the gripper is down, or ordering the runner before deciding on Hollywood, cannot be undone cheaply.
- Repair and stabilise the staircase — screws into squeaking treads, filler, punched nails.
- Any painting, staining or lacquering of the exposed timber, fully cured.
- Final measurement of tread, riser, nosing, width at three heights and step count.
- Decide runner width and reveal.
- Decide waterfall or Hollywood.
- Decide pattern placement and where any join lands.
- Order runner, binding, underlay — with waste allowance.
- Dry fit two steps on delivery, before cutting.
- Fit gripper, then underlay.
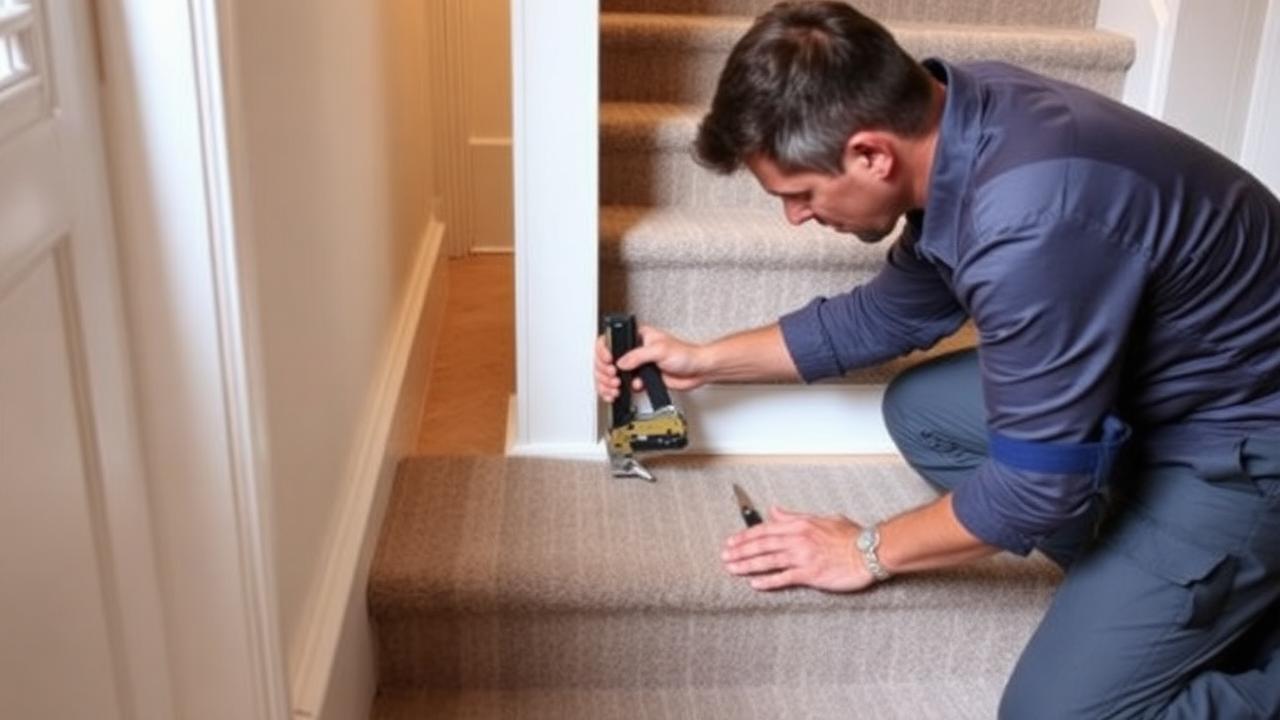
- Fit the runner bottom to top.
- Finish top and bottom, then fit rods if used.
Paint before, not after
Painting risers or staining treads once the runner is down means masking 26 edges and risking bleed onto the carpet. Do all decorating first and let it cure for at least 48 hours — fresh paint under a gripper strip stays soft and lets the pins pull out.
Deciding runner width before anything else
Runner width is the decision that most changes how the finished staircase looks, and it is fixed the moment you order. Measure the stair width at the bottom, middle and top step and work from the narrowest. Subtract the runner width from it, halve the answer, and that is your reveal per side. Most staircases look right with 4-6in of bare timber showing on each side.
| Stair width | Runner width | Reveal each side | Effect |
|---|---|---|---|
| 30in / 76cm | 22-24in / 56-61cm | 3-4in | Generous runner on a narrow stair |
| 36in / 91cm | 26-30in / 66-76cm | 3-5in | The standard, most forgiving case |
| 42in / 107cm | 30-34in / 76-86cm | 4-6in | Wide flight, keeps proportion |
| 48in / 122cm | 34-40in / 86-102cm | 4-7in | Grand staircase; wider runner needed |
On a tapering staircase, decide which side the taper shows on before ordering. Keeping the runner parallel to the wall string and letting the reveal grow on the open, balustrade side hides the discrepancy, because the eye uses the wall as the reference line. Splitting the taper equally is the intuitive choice and the wrong one — it makes both reveals visibly uneven.
Setting out a patterned runner
A patterned runner has to be set out so the motif appears in the same position on every tread. That means the runner's pattern repeat has to be a working divisor of the per-step consumption, or you accept that the pattern will climb. Measure your repeat, measure the per-step length, and mark the runner where each nosing will fall before you fit anything.
- Measure the pattern repeat along the length of the runner.
- Calculate per-step consumption: tread + riser + nosing wrap.
- Mark the roll at each per-step interval with tailor's chalk on the back.
- Choose which part of the motif sits centre-tread and align the first mark to it.
- Add one full repeat to your order as setting-out waste.
- Check the centre line of the pattern against the runner's own centre line — printed and woven runners are sometimes off by 5-10mm.
Stripes running along the length of the runner need the same treatment across the width instead: a stripe that is 15mm off centre reads as a crooked staircase even when the edges are perfectly parallel to the strings. Check it on the dry fit before the first staple.
The dry fit
A dry fit is 20 minutes that saves a day. Unroll enough runner to cover the bottom two steps, clamp it or weight it in place, and look at it from the hall, from the top of the flight and from the first-floor landing. You are checking four things: the reveal reads as deliberate, the pattern sits where you intended, the chosen fitting style suits the pile, and the colour behaves under your actual stair lighting rather than showroom lighting.
Dry fit in the evening too
Stairs are the worst-lit part of most homes. A runner that reads charcoal in daylight can go flat and muddy under a single landing pendant. Look at the dry fit at night before you commit.
Tensioning: the technique that separates good from average
Tension is the difference between a runner that still looks fitted in five years and one that ripples by Christmas. It is applied per step, with a knee kicker, in a specific order: fix at the back of the tread first, kick forward and downward, then fix under the nosing, then work the crease at the base of the next riser with the bolster.
- Set the kicker head so the pins grip the backing, not just the pile — too shallow and you stretch the pile only.
- Kick from the centre outwards, never from one edge, or the runner walks sideways.
- Test by pressing hard in the middle of the tread; if the nosing edge lifts, it is not tight.
- Never try to pull tension through two steps at once — it always slackens the lower one.
- Re-check the edge marks every third step; drift is cumulative and invisible until it is not.
Where joins are allowed
Long flights, landings and rug-runner installs all need joins. There is exactly one acceptable location for a join: the internal angle at the base of a riser, where the shadow line hides it and no foot lands directly on it. A join in the middle of a tread will be visible, will catch, and will open up.
| Situation | Join location | Method |
|---|---|---|
| Two rug runners on one flight | Base of a chosen riser | Butt two bound edges, fix both, hide under a rod |
| Half landing | Internal angle at landing edge | Separate cut pieces, both bound |
| Runner to landing carpet | Top nosing | Tuck runner under landing gripper |
| Roll shortfall mid-flight | Base of a riser | Avoid if possible; re-order rather than join broadloom |
Time and sequence for a weekend install
| Session | Work | Duration |
|---|---|---|
| Friday evening | Strip old covering, pull tacks, punch nails, vacuum | 1.5-2.5 hrs |
| Saturday morning | Mark out, fit gripper, cut and fix underlay | 2-3 hrs |
| Saturday afternoon | Fit runner bottom to top | 4-5 hrs |
| Sunday morning | Top and bottom finishes, rods, snagging | 1.5-2.5 hrs |
Note that the staircase is unusable for parts of Saturday. In a single-staircase home with small children, pets or anyone with reduced mobility, plan the sequence so that at minimum the flight is walkable — with the gripper covered — every time you break.
Know your numbers in 30 seconds
Enter your step count, tread depth and riser height — the stair runner calculator gives you the exact length to order, in metres and feet, with waste included.
Open the stair runner calculatorErrors that cannot be undone
| Error | Consequence | Fix |
|---|---|---|
| Runner ordered short | Cannot complete the flight; dye lot gone | Re-order full length; the short piece becomes a landing mat |
| Wrong width bound | Reveal wrong or edges cut off | Re-bind narrower, or live with it |
| Pattern not set out | Motif climbs sideways up the flight | Refit from scratch |
| Tension lost on a low step | Ripple that spreads upward | Unpick everything above it |
| Gripper too close to the riser | Pins visible under the crease | Lift and refit gripper |
| Staples on the open face | Permanent dimples in the pile | Cannot be fixed on wool |
Every row in that table traces back to a planning step rather than a fitting step, which is the argument for spending the extra hour with the tape and the calculator before the order goes in. The stair runner length calculator handles the arithmetic — tread, riser, nosing, step count, fitting style and pattern repeat — and gives you the linear length with waste already included.
Installing on different staircase types
- Closed-string straight flight: the standard case; runner sits between two strings with equal reveals.
- Cut-string flight with an open side: keep the runner parallel to the wall string; the open side takes the taper.
- Half-landing flight: three separate pieces — lower run, landing, upper run — all bound.
- Winder flight: individually cut and bound wedges for the turn.
- Open-riser stairs: treads only, wrapped over the nosing and fixed underneath.
- Curved or spiral: template every tread individually; genuinely a professional job.
- Concrete or stone stairs: no staples — adhesive, or a rod-and-bracket system fixed with plugs.
Quoting the job if you fit for clients
Trade installers price runners three ways: per step, per linear metre fitted, or as a day rate. Per-step is the easiest for a client to understand and the easiest to get wrong on a flight with winders, because a winder is roughly two straight steps' worth of work. Whichever way you price, itemise material, binding, underlay, gripper and labour separately — clients accept a higher total when they can see what it is made of. Riser for pros generates that itemised, branded quote straight from the measurements, including wastage and roll planning.
For homeowners comparing quotes, the same principle applies in reverse: ask for the breakdown. Two quotes that differ by £300 usually differ on underlay grade, whether binding is included, and whether the winders were counted properly — not on the fitter's hourly rate.
Whatever you decide, get the numbers first: the stair runner calculator doubles as a stair runner length calculator, adding nosing wrap, landings, winders, pattern repeat and waste so you order the right length the first time.
Still deciding on material, width or pattern? Our hub on stair runners compares weaves, widths, backings and fitting styles side by side, then hands the numbers straight to the calculator.
Frequently asked questions
What is the correct order for installing a stair runner?
Repair the stairs, decorate and let it cure, measure, decide width and fitting style, set out any pattern, order with waste, dry fit, then gripper, underlay, runner bottom to top, and finally the top and bottom finishes and rods.
Should I paint the stairs before installing a runner?
Yes. Paint, stain or lacquer the exposed timber first and let it cure for at least 48 hours. Masking around a fitted runner is slow, and gripper pins pull out of soft, uncured paint.
How much extra runner should I order?
Add 10-12in of tucking allowance at each end, plus one full pattern repeat for setting out on a patterned runner, plus roughly 5% general waste. Hollywood fitting also uses slightly more per step than waterfall.
How do you keep a stair runner straight while installing it?
Measure the stair width at three heights, work from the narrowest, mark both runner edges in pencil on every tread and riser, and check the marks every third step. Never rely on eyeballing the middle of the flight.
Where should a stair runner join go?
Only in the internal angle at the base of a riser, where the shadow line hides it and no foot lands directly on it. A join on a tread is visible and wears open quickly.
How long does installing a stair runner take over a weekend?
Roughly 9-13 hours split across a Friday evening strip-out, a Saturday of marking out, gripper, underlay and fitting, and a Sunday morning of finishes and snagging.
Can you install a stair runner on concrete stairs?
Yes, but not with staples. Use a flooring adhesive suitable for the backing, or a rod-and-bracket system fixed with masonry plugs. Concrete also needs a levelling check before you start.
What is the most common installing mistake?
Losing tension on one low step. The ripple spreads upward and the only real fix is unpicking every step above it, which is why each step should be pressure-tested before you move on.
Know your numbers in 30 seconds
Enter your step count, tread depth and riser height — the stair runner calculator gives you the exact length to order, in metres and feet, with waste included.
Plan my runnerReady for real prices?
Get quotes from vetted stair runner suppliers and fitters near you. Free, no account, no obligation.
Every guide is written from hands-on measuring and fitting experience, checked against the calculator’s own maths, and re-reviewed whenever prices or methods change. Read our editorial standards.