

How tackless strip works
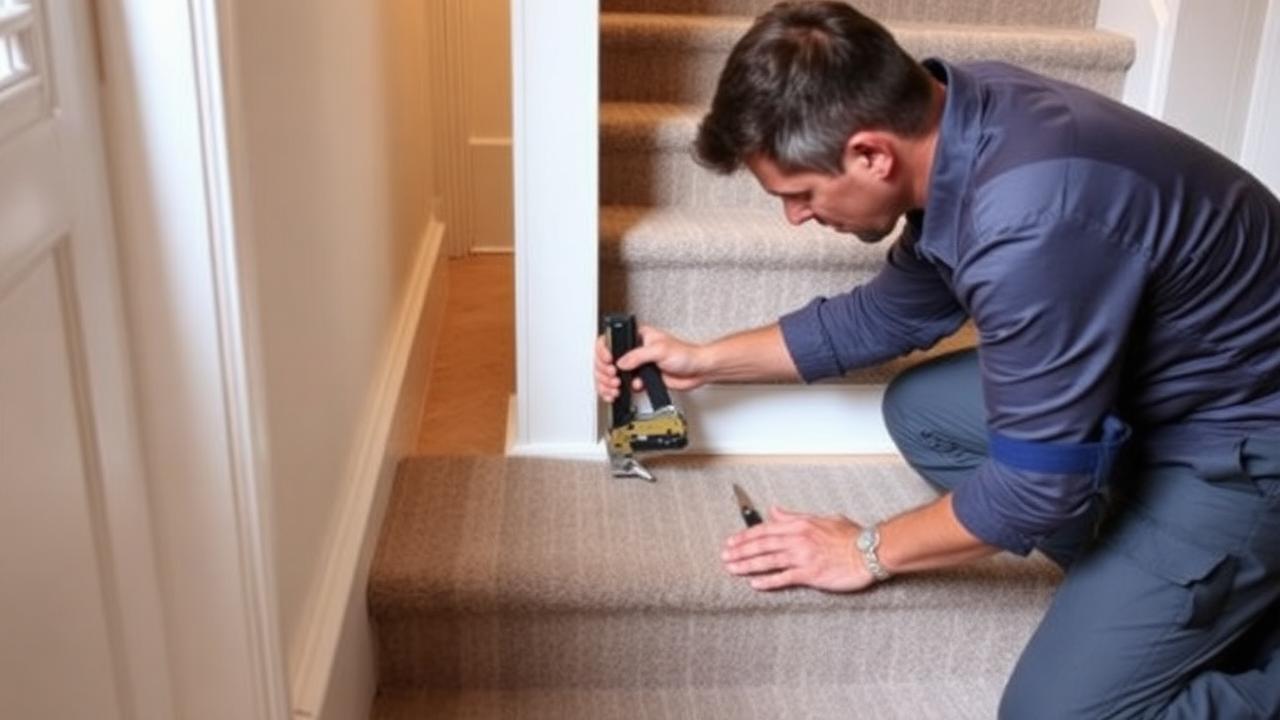
Gripper strip is a thin lath, typically 1 in (25mm) wide, studded with angled pins that face the direction the carpet needs to be pulled. It is nailed or stapled to the timber close to the edge it is anchoring, and the runner backing is then hooked over the pins and stretched into place.
| Location | Strip placement | Pin direction |
|---|---|---|
| Base of riser | About 1/2 in (12mm) above the tread-riser junction | Angled down, toward the tread |
| Back of tread | About 3/8-1/2 in (10-12mm) from the rear wall or stringer | Angled back, toward the riser above |
| Bottom step nosing (if used) | Set back from the front edge | Angled toward the flight |
Gripper vs direct stapling
| Factor | Tackless strip | Direct staples |
|---|---|---|
| Tension evenness | Very good, continuous pull | Good, but point-fixed |
| Ease of later removal | Easier, unhooks from pins | Harder, staples must be pulled |
| Material cost | Adds gripper strip cost | None beyond staples |
| Skill required | Slightly higher | Lower, more forgiving |
| Typical labour add | $3-6 / £2.50-5 per step | Baseline |
Know your numbers in 30 seconds
Enter your step count, tread depth and riser height — the stair runner calculator gives you the exact length to order, in metres and feet, with waste included.
Open the stair runner calculatorStep by step
- Cut gripper strips to the width of each tread and riser, leaving a small gap at each side.
- Nail or staple strips into position with pins angled correctly per location.
- Fit a pad between the strips on each tread.
- Hook the runner over the top gripper and work down, using a knee kicker or stair tool to tension it onto each strip.
- Trim and finish the bottom edge, tacking or stapling the raw end.
Watch pin direction closely
Gripper pins fitted backwards will not hold the runner under tension and can also work through the pile to the surface. Check the arrow markings on the strip packaging before nailing anything down.
Gripper material choices
| Gripper type | Best for | Notes |
|---|---|---|
| Wood gripper with steel pins | Timber treads and risers | Standard choice, nails in easily |
| Plastic/composite gripper | Concrete or where nailing is impractical | Usually needs adhesive or masonry pins |
| Fine-pin gripper | Delicate natural fibre backings | Reduces snagging on loosely woven weaves |
A box of standard wood gripper typically costs $8-15 (£6-12) for enough strip to cover a full 13-step flight at both the tread back and riser base. Buy a few extra feet beyond the exact measured length, since off-cuts at odd angles near a landing or winder are common and having spare strip on hand avoids a mid-job trip to the shop. Composite or plastic gripper costs a little more but resists moisture better, making it the sensible choice near an entrance or any stairs exposed to damp footwear.
When to choose this method
Tackless strip suits runners you may want to lift and re-lay, such as when combined with decorative stair rods, and it is the standard specified on most UK professional installations. It adds modest material and labour cost over direct stapling but gives a firmer, more even finish along a long flight.
Troubleshooting common problems
Even a carefully planned job related to the tackless strip method for stair runners can go wrong in a handful of predictable ways. Most issues trace back to a measurement taken at the wrong point, a substrate that was not properly checked before work began, or a step skipped to save time early on. Catching these early is far cheaper than correcting them after the runner is fixed in place.
| Symptom | Likely cause | Fix |
|---|---|---|
| Runner sits crooked after a few steps | Centre line not re-checked partway down the flight | Re-mark the centre line every 4-5 steps and adjust |
| Fabric bags or ripples at the nosing | Insufficient tension when fixing at the riser base | Pull taut before fixing and re-do that section |
| Edges fray within weeks | Binding not sealed or wrong backing for the fibre | Reseal edges or have a fitter re-bind |
| Runner shifts underfoot | Pad or gripper not anchored to solid timber | Check substrate and re-fix into sound wood |
Timeline and cost impact
Decisions around the tackless strip method for stair runners affect both how long the job takes and its final bill. As a rule, anything that adds measuring or cutting complexity adds labour hours, and labour is usually the larger share of an installed price once the carpet itself is accounted for.
| Scenario | Typical added time | Typical added cost (US / UK) |
|---|---|---|
| Straightforward straight flight | No change | $0 |
| Extra measuring or templating step | 30-60 minutes | $40-90 / £30-70 |
| Substrate repair needed first | 1-3 hours | $75-250 / £60-200 |
| Fitter call-out for a second opinion | N/A, usually free or low cost | $0-75 / £0-60 |
Gripper and pin length by tread thickness
Gripper pins need to be long enough to hold securely in the tread or riser timber but short enough not to punch through thin plywood stair components, which are increasingly common in modern stud-frame staircases rather than solid hardwood. Always check the underside or edge of a tread for its actual thickness before nailing gripper down blind; a quick check with a bradawl or fine drill bit through a test spot avoids discovering a through-punch only after the runner is fully fitted.
| Tread/riser material | Typical thickness | Gripper pin length to use |
|---|---|---|
| Solid hardwood tread | 1-1.25 in (25-32mm) | Standard gripper, no restriction |
| Plywood or MDF tread | 0.6-0.75 in (15-19mm) | Shorter pin gripper or reduce nail depth |
| Engineered/laminated tread | 0.75-1 in (19-25mm) | Standard gripper, check for internal voids first |
Checking reviews and past work properly
A star rating alone tells you little about a stair runner installer's actual craftsmanship. Ask to see photographs of a completed staircase with winders or a landing if your own job has either, since a straight-flight portfolio does not prove competence on the harder geometry. Where possible, ask for a phone reference from a past client whose job is more than a year old, since early problems like loose staples or a shifting pad usually surface well before then.
A final word on trust and communication
The best working relationships with a stair runner installer come from clear written communication at every stage: a confirmed measurement, a confirmed material order, and a confirmed fitting date, each acknowledged in writing rather than assumed over a phone call. This small discipline resolves the great majority of disputes before they start, since most disagreements about hiring a stair runner installer trace back to a verbal understanding that both sides remembered differently.
Whatever you decide, get the numbers first: the stair runner calculator doubles as a stair runner length calculator, adding nosing wrap, landings, winders, pattern repeat and waste so you order the right length the first time.
Frequently asked questions
What is tackless strip in stair runner installation?
It is a thin pinned strip, also called gripper, nailed to the tread and riser edges. The runner is hooked over the angled pins and tensioned into place instead of being stapled directly through the face.
How far from the edge should gripper be placed on a stair?
About 1/2 in (12mm) from the tread-riser junction at the base of the riser, and about 3/8-1/2 in (10-12mm) from the rear wall or stringer at the back of the tread.
Is the tackless strip method better than stapling?
It gives more even tension and is easier to lift later, which is why most UK fitters use it, but it costs a little more in materials and slightly more skill to fit correctly.
Can I use tackless strip with stair rods?
Yes, they work well together; the gripper does the securing and the rods are purely decorative, sitting in the tread-riser angle over the top of the tensioned runner.
What is the biggest mistake people make with this?
Rushing the measuring or prep stage. Most poor outcomes with the tackless strip method for stair runners trace back to a single measurement taken at the wrong point, or a substrate check skipped to save a few minutes, both far cheaper to fix before the runner is cut than after.
Know your numbers in 30 seconds
Enter your step count, tread depth and riser height — the stair runner calculator gives you the exact length to order, in metres and feet, with waste included.
Measure my stairsReady for real prices?
Get quotes from vetted stair runner suppliers and fitters near you. Free, no account, no obligation.
Every guide is written from hands-on measuring and fitting experience, checked against the calculator’s own maths, and re-reviewed whenever prices or methods change. Read our editorial standards.