
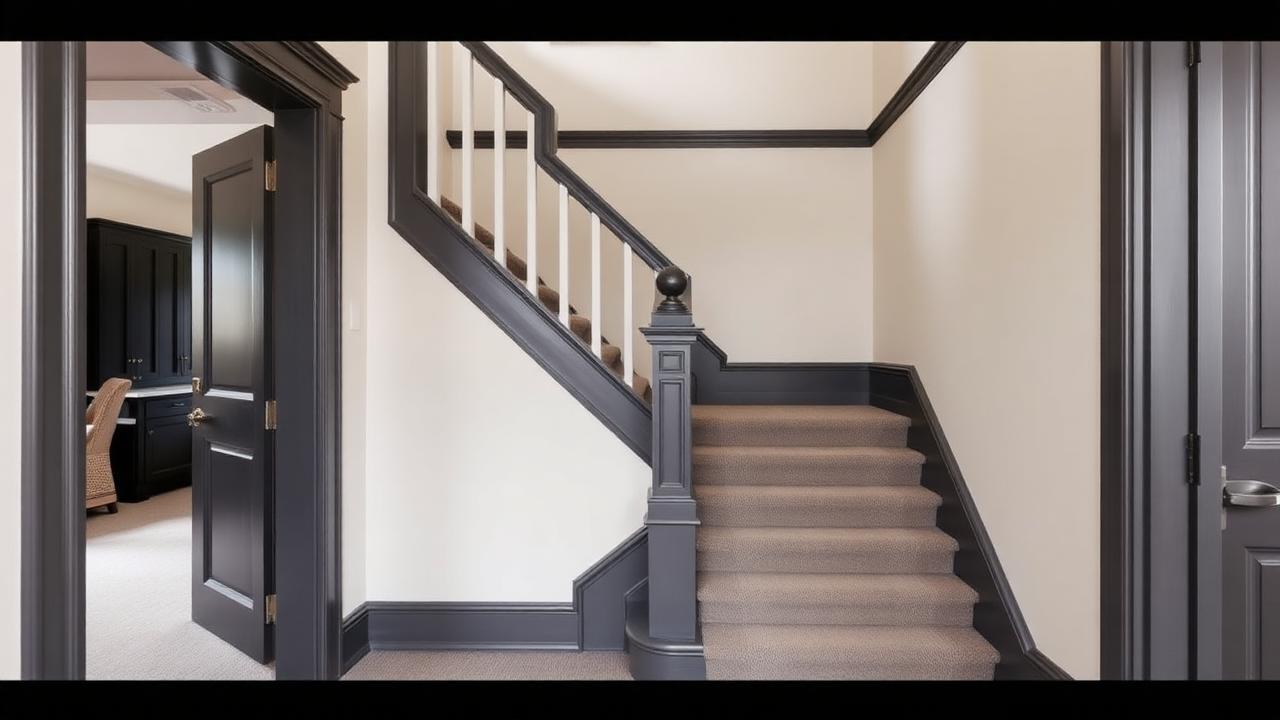
Why the transition point matters
The transition between a stair runner and the landing above or below it is one of the most visible and most-trafficked points of the whole installation. Foot traffic pivots and lands here constantly, meaning it needs to be structurally secure as well as visually seamless. A poorly finished transition will fray, lift, or create a trip hazard within months, while a well-planned one disappears into the overall look of your hallway.
Matching materials at the landing
If your landing is carpeted with the same or a coordinating carpet, the transition can be nearly invisible, especially if the fitter uses a gripper rod and tucks both pieces into the same seam. If the landing is a different material, such as hardwood, tile, or laminate, you'll need a transition strip or a carefully bound edge to prevent fraying and to create a smooth height change underfoot. Metal or wood transition bars, often just under an inch wide, are the most common solution and come in finishes to match either the flooring or the stair rods, if used.
| Landing material | Recommended transition | Notes |
|---|---|---|
| Matching carpet | Gripper rod, tucked seam | Nearly invisible finish |
| Hardwood | Metal or wood transition bar | Prevents fraying, smooths height change |
| Tile | Reducer strip | Manages larger height difference |
| Different carpet | Bound edge with transition bar | Avoids visible seam mismatch |
Calculating your finishing allowance
Beyond the standard per-step calculation, you need extra length specifically to wrap and tuck the runner at the top and bottom landings. For a 13-step US flight: 10 in tread + 7.5 in riser + 0.75 in nosing wrap = 18.25 in per step, times 13 steps = 237.25 in. Add a 24 in finishing allowance (12 in at each end) to cleanly tuck into the landing transitions, giving 261.25 in (21.77 ft). With an 8-10% waste margin, order 23.5-24 ft. Metric: 45.9 cm per step times 13 = 596.7 cm, plus 60 cm finishing = 656.7 cm, plus waste, roughly 7-7.3 m.
Know your numbers in 30 seconds
Enter your step count, tread depth and riser height — the stair runner calculator gives you the exact length to order, in metres and feet, with waste included.
Open the stair runner calculatorDon't skimp on the finishing allowance
Cutting the finishing allowance too tight is one of the most common ordering mistakes. Without enough extra material, your fitter can't create a secure, tucked transition and may be forced to leave a raw or stapled edge exposed at the landing.
Installation techniques for a clean transition
A skilled fitter will typically use a gripper rod set back slightly from the landing's edge, allowing the runner to be pulled tight and tucked under for a finished look with no visible staples or raw edges. On a top landing, the runner is often tucked beneath the bottom edge of the landing carpet or against a threshold bar. On the bottom step, a similar tuck or a bound edge against the floor finish completes the look.
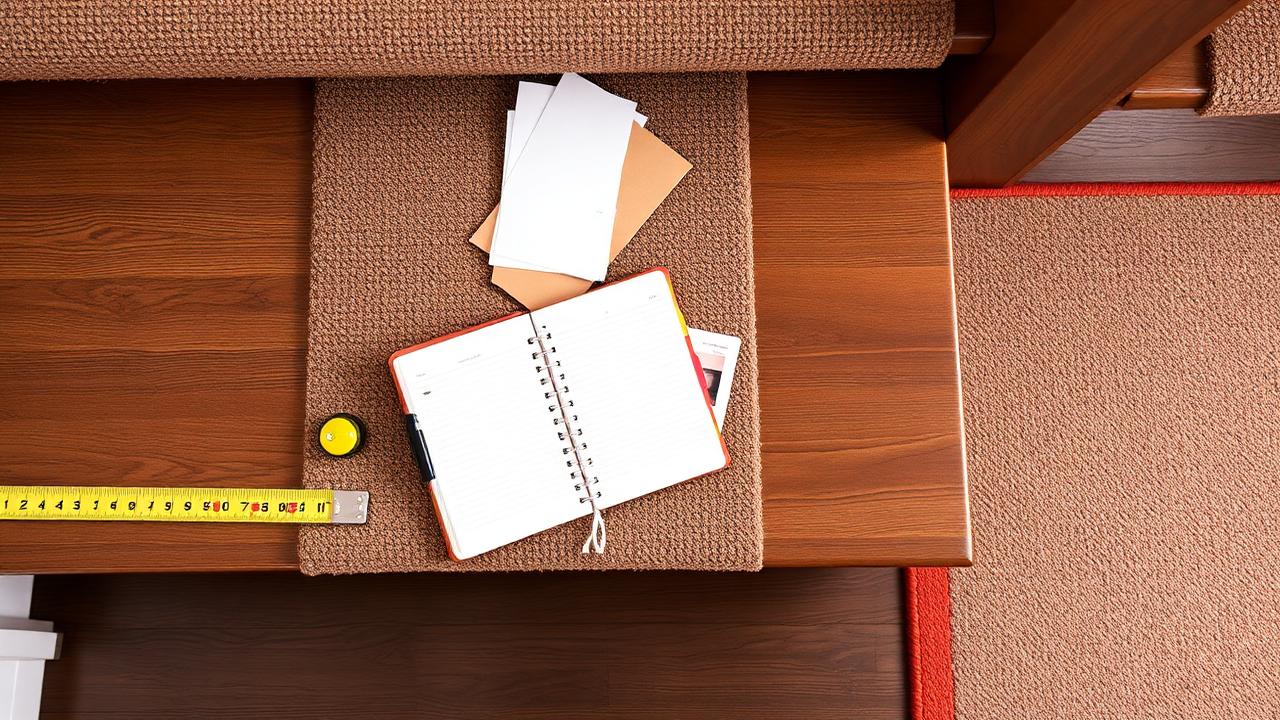
- Always include a 12-24 in (30-60 cm) finishing allowance in your total length calculation.
- Choose a transition bar or method that matches your landing's flooring material.
- Ensure the fitter uses gripper rods for a tucked, staple-free finish where possible.
- Coordinate stair rod or transition bar finishes for a cohesive overall look.
- Inspect the transition points carefully after installation for security and neatness.
When to call in a professional
While a straightforward carpet-to-carpet transition can sometimes be handled by an experienced DIYer, transitions involving hardwood, tile, or unusual landing shapes are best left to a professional fitter. The combination of structural security and visual finish at this high-traffic point makes it one of the areas where professional installation pays off most clearly.
Handling tricky transition shapes
Not every landing meets the stair square-on. Angled landings, curved top steps, and pie-shaped winders all complicate the transition detail, since the runner's edge won't follow a simple straight line into the landing carpet or floor. In these cases, fitters typically custom-cut the runner's finishing edge to follow the actual geometry of the landing, then use a flexible transition strip that can be gently curved, rather than a rigid straight bar, to maintain a tight, gap-free seam along the whole width.
On open-plan landings that flow into a hallway with no clear break in flooring, some homeowners choose to run a continuous carpet from the top step straight into the hall, eliminating the transition point altogether. This works well if the same or a coordinating carpet is used throughout, but requires careful yardage planning up front since the hallway length needs to be added to your stair runner order rather than treated as a separate purchase later.
Typical transition hardware costs
A basic aluminum or brass transition bar runs about 8 to 25 USD (6 to 20 GBP) per linear foot (30 cm) installed, while a custom-curved or wide reducer strip for an angled landing can run 25 to 50 USD (20 to 40 GBP) per linear foot given the extra fabrication involved. Gripper rod itself is inexpensive, typically 2 to 4 USD (1.6 to 3.2 GBP) per foot, but the labor to fit it precisely around a landing edge is where most of the transition budget goes.
| Transition type | Cost per ft/30cm installed (US / UK) | Best for |
|---|---|---|
| Straight metal bar | $8-25 / £6-20 | Square landings, hardwood or tile |
| Curved/custom reducer | $25-50 / £20-40 | Angled or pie-shaped landings |
| Tucked gripper seam | $5-15 / £4-12 | Matching carpet on both sides |
| Continuous carpet, no seam | Material cost only | Open-plan hall and landing |
- Measure the landing's actual geometry, not just its width, before ordering a transition bar.
- Use a flexible reducer strip on angled or curved landing edges rather than a rigid bar.
- Consider a continuous carpet run if the hallway and landing share the same flooring style.
- Budget extra labor time for any transition that isn't a simple square handoff.
- Confirm gripper rod placement with your fitter so the tuck sits tight against the landing edge.
Whatever you decide, get the numbers first: the stair runner calculator doubles as a stair runner length calculator, adding nosing wrap, landings, winders, pattern repeat and waste so you order the right length the first time.
Still deciding on material, width or pattern? Our hub on stair runners compares weaves, widths, backings and fitting styles side by side, then hands the numbers straight to the calculator.
Frequently asked questions
How much extra length do I need for the landing transition?
Plan for a 12-24 in (30-60 cm) finishing allowance split between the top and bottom of the flight.
What is a transition bar?
A metal or wood strip, usually under an inch wide, that bridges the height and material difference between a stair runner and a different landing floor.
Can I match my stair runner to my landing carpet?
Yes, if you use the same product on both, the transition can be nearly seamless with a properly tucked join.
What happens if I don't allow enough finishing length?
The fitter may be forced to leave a raw, stapled, or unfinished edge at the landing, which looks unfinished and can fray over time.
Do I need a transition bar for hardwood landings?
Yes, it's the standard solution for managing the height difference and preventing fraying at the carpet edge.
Can I install a landing transition myself?
Simple carpet-to-carpet transitions can be DIY-friendly, but transitions involving hardwood or tile are best done professionally.
Should the transition bar match my stair rods?
It's a nice design touch to coordinate finishes, though it isn't required functionally.
Does the stair runner calculator include the landing allowance?
Yes, make sure to input your desired finishing allowance so the total length accounts for the transition tuck.
Know your numbers in 30 seconds
Enter your step count, tread depth and riser height — the stair runner calculator gives you the exact length to order, in metres and feet, with waste included.
Include your transition allowance in the stair runner calculatorReady for real prices?
Get quotes from vetted stair runner suppliers and fitters near you. Free, no account, no obligation.
Every guide is written from hands-on measuring and fitting experience, checked against the calculator’s own maths, and re-reviewed whenever prices or methods change. Read our editorial standards.