
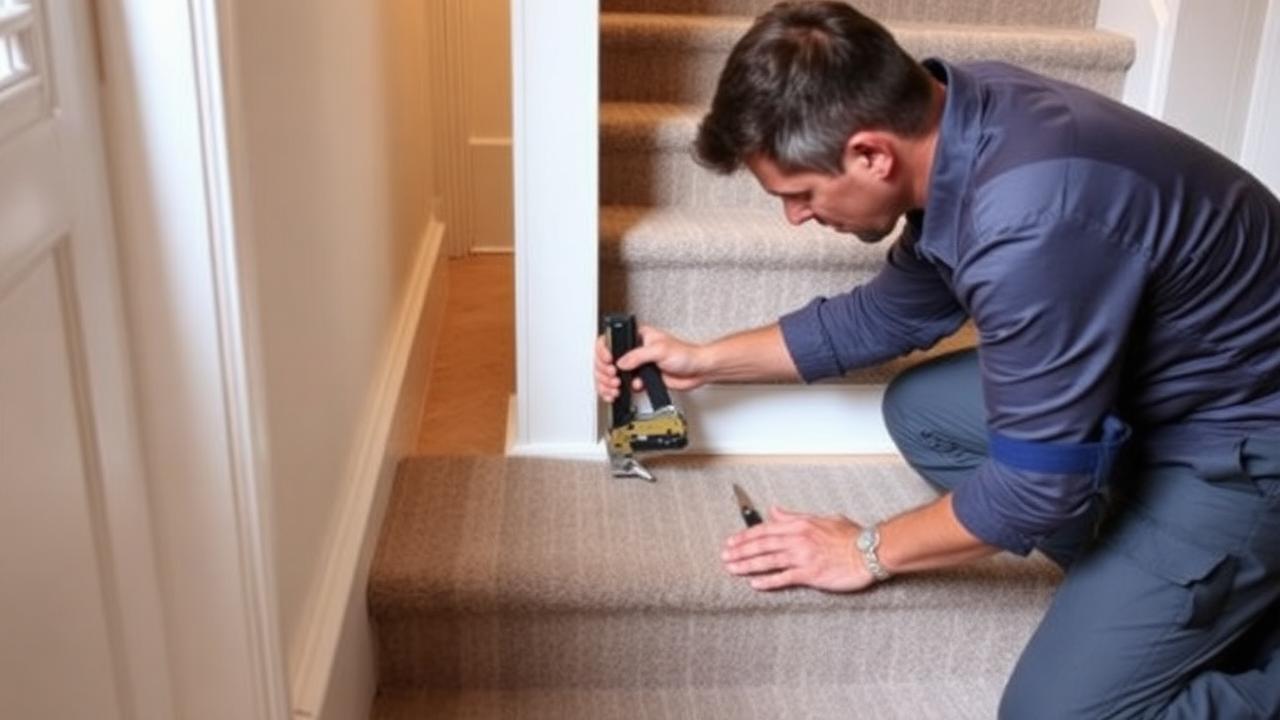
Preparing the staircase
Before any carpet goes down, inspect every tread and riser for loose boards, protruding nails, or squeaks, and address these first. A stair carpet runner will hide these problems visually but not solve them, and squeaks in particular tend to get worse, not better, once carpeted. Clean each step thoroughly and, if you are removing an old carpet or runner, check the wood underneath for any damage that needs repairing before you proceed.
Choosing your fastening method
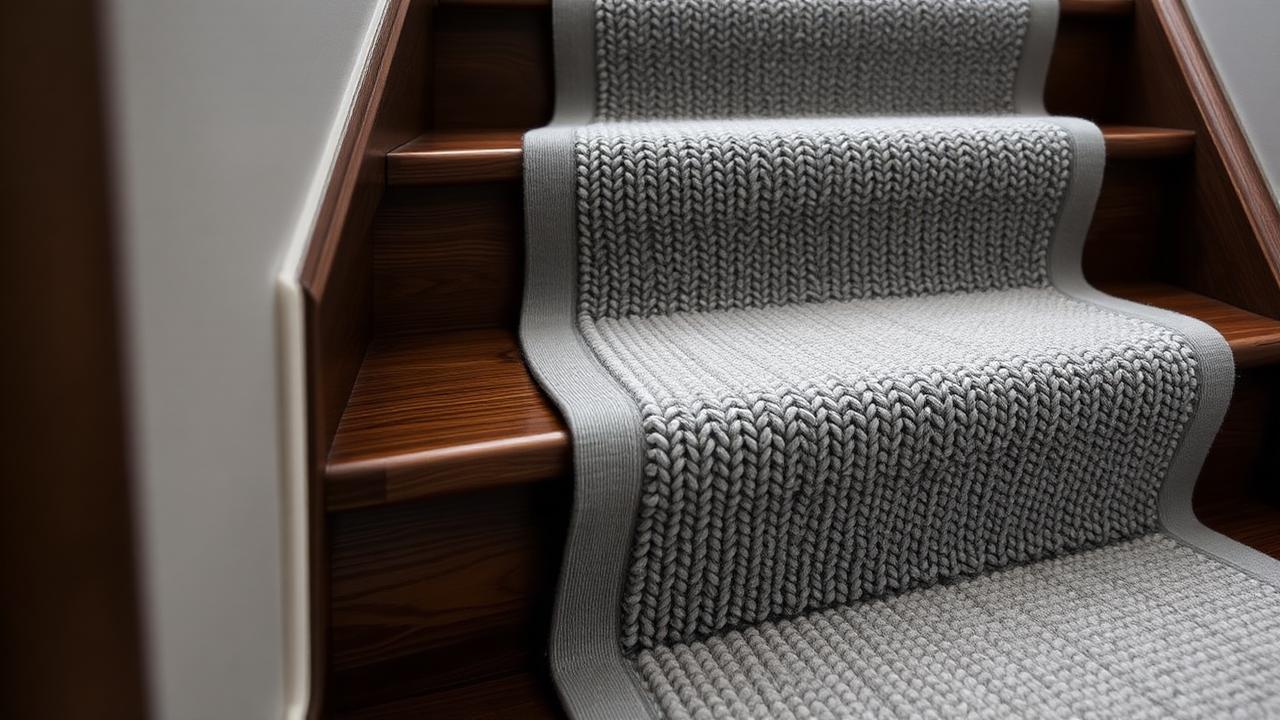
There are three common fastening methods for stair carpet runners: staples, tackless strips, and stair rods. Staples are quick and affordable, hidden entirely under the carpet pile, and work well for most standard installations. Tackless strips, small wooden strips studded with angled pins, grip the carpet backing firmly and are the professional standard for a durable, long-lasting fit. Stair rods add a decorative, traditional element on top of either staple or tackless fixing, holding the runner in place at each riser crease while also serving as a visible design feature.
Fitting the underlay
Cut and fit underlay pads to each individual step, sized slightly smaller than the tread and riser combined so it does not create a visible bulge under the carpet edge. Secure the underlay firmly with staples or adhesive before laying the runner itself; a well-fitted underlay dramatically improves both comfort and the longevity of the carpet by cushioning the high-wear nosing areas.
Laying and securing the runner
Starting at the top of the flight, position the runner centrally and begin securing it downward, one step at a time. Pull the carpet taut before fixing at each step, using a stair tool to push the material firmly into the crease between tread and riser for a crisp, professional line. Consistent tension throughout is what prevents the sagging and rippling that is the most common sign of an amateur installation.
How much runner do I need?
For a 13-step flight in US units: 10 in tread + 7.5 in riser + 0.75 in nosing wrap = 18.25 in per step, totalling 237.25 in across 13 steps. Add 24 in for finishing to reach 261.25 in (21.77 ft), then include an 8-10% waste margin for roughly 24 ft. In metric: 25 cm + 19 cm + 1.9 cm = 45.9 cm per step, totalling 596.7 cm, plus 60 cm finishing for 656.7 cm, and around 7.1-7.3 m with waste.
| Fastening method | Best for | Visible? |
|---|---|---|
| Staples | Budget, straightforward installs | No, hidden under pile |
| Tackless strips | Long-term, professional-grade fit | No, hidden under pile |
| Stair rods | Traditional, decorative finish | Yes, visible feature |
Know your numbers in 30 seconds
Enter your step count, tread depth and riser height — the stair runner calculator gives you the exact length to order, in metres and feet, with waste included.
Open the stair runner calculatorAlways finish top and bottom neatly
The top and bottom of the flight are where most DIY installs look unfinished. Tuck the runner cleanly under the landing gripper at the top, and fold and secure the excess neatly at the base for a professional result.
Final checks after installation
Once fitted, walk the full length of the staircase checking for any give, movement, or visible lifting at the edges. Vacuum the new runner gently to settle the fibres, and check that any stair rods are level and securely fixed. A well-installed stair carpet runner should feel completely solid underfoot with no shifting or bounce at any step.
- Repair loose boards and squeaks before installing any carpet.
- Choose tackless strips for the most durable, professional-grade fixing.
- Fit underlay to each step before laying the runner itself.
- Maintain consistent tension working from the top of the flight down.
- Finish both ends neatly for a professional overall appearance.
Cost bands: DIY versus professional install
A DIY installation on a 13-step, 24 ft (7.3 m) flight typically costs $250-500 (GBP 200-400) in total once runner, underlay, tackless strips or staples, and any stair rods are added together, assuming you already own basic tools. A professional installation adds labour of roughly $200-450 (GBP 160-360) for a straight flight, or more for winders and half-landings, bringing an all-in professional job to $550-1,100 (GBP 440-880) including materials. Many suppliers offer a combined supply-and-fit price that is worth comparing directly against buying materials separately, since bulk-buying underlay and tackless strip alongside the runner can reduce overall cost.
Ongoing maintenance after installation
Vacuum a newly installed runner gently for the first few weeks while the fibres settle, avoiding an aggressive beater bar setting on the nosing edges. Check tackless strip grip and any stair rod tension after the first month of daily use, since new installations can bed in slightly as the underlay compresses. From there, a weekly vacuum, immediate spill blotting, and a professional clean every 12-18 months will keep a well-installed runner performing for well over a decade on a typical family staircase.
| Install route | Total cost (13 steps) | Typical lifespan with care |
|---|---|---|
| DIY, staples | $250-420 / GBP 200-335 | 8-12 years |
| DIY, tackless strip | $280-500 / GBP 225-400 | 10-15 years |
| Professional, supply and fit | $550-1,100 / GBP 440-880 | 12-20 years |
- Recheck tackless strip grip and rod tension after the first month of use.
- Vacuum gently at a lower setting for the first few weeks post-installation.
- Compare combined supply-and-fit quotes against buying materials separately.
- Blot spills immediately to protect a newly fitted runner's fibres.
- Book a professional clean every 12-18 months to maximise lifespan.
Whatever you decide, get the numbers first: the stair runner calculator doubles as a stair runner length calculator, adding nosing wrap, landings, winders, pattern repeat and waste so you order the right length the first time.
Still deciding on material, width or pattern? Our hub on stair runners compares weaves, widths, backings and fitting styles side by side, then hands the numbers straight to the calculator.
Frequently asked questions
Is stair carpet runner installation a DIY-friendly project?
Yes for most straight staircases, though winders and curves are best left to a professional fitter.
What is the best fastening method for a long-lasting fit?
Tackless strips are considered the professional standard for durability and a smooth finish.
Do I need underlay for a stair carpet runner?
Yes, underlay is essential for comfort, durability, and protecting the carpet at high-wear nosing points.
How long does a full stair carpet runner installation take?
A full day is typical for a first-time DIY installation on a straight 13-step flight.
Can I install a runner over an existing stair carpet?
It is possible but not recommended, as it can create an uneven surface and reduce longevity.
What causes a stair runner to look wrinkled after installation?
Inconsistent tension during fitting is the most common cause of visible rippling or sagging.
Do stair rods replace the need for staples or tackless strips?
No, rods are typically decorative and used alongside, not instead of, a secure fastening method.
How do I know how much carpet runner to buy?
Use a stair runner length calculator with your tread depth, riser height, and step count for an accurate figure.
Know your numbers in 30 seconds
Enter your step count, tread depth and riser height — the stair runner calculator gives you the exact length to order, in metres and feet, with waste included.
Confirm your quantities with the stair runner calculatorReady for real prices?
Get quotes from vetted stair runner suppliers and fitters near you. Free, no account, no obligation.
Every guide is written from hands-on measuring and fitting experience, checked against the calculator’s own maths, and re-reviewed whenever prices or methods change. Read our editorial standards.